 Ad Hoc is a widely used conferencing type that can implement trilateral or multilateral conferences. CMS can be used as a conferencing bridge resource.
We’re going to use CUCM 11.5SU1 and CMS 2.3.3 for experimental purposes. Please use a proper configuration according to your own environment.
Note
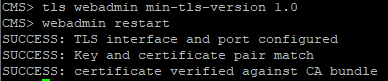
CUCM versions prior to 11.5 SU3 use TLS 1.0, and CMS 2.3 and later versions use TLS1.2. If a CUCM version earlier that 11.5 SU3 is integrated with CMS 2.3+, you should modify the CMS TLS version information. Use the following command for CMS:
tls webadmin min-tls-version 1.0
tls sip min-tls-version 1.0
The configuration process includes the following steps:
- Certificate-related configuration;
- CMS-related configuration;
- CUCM-related configuration;
- Testing.
Certificate-related configuration
CUCM and CMS should trust each other to implement Ad Hoc conferencing, so you’ll need a certificate application (CA or OpenSSL).
(1) Certificates for CUCM Side
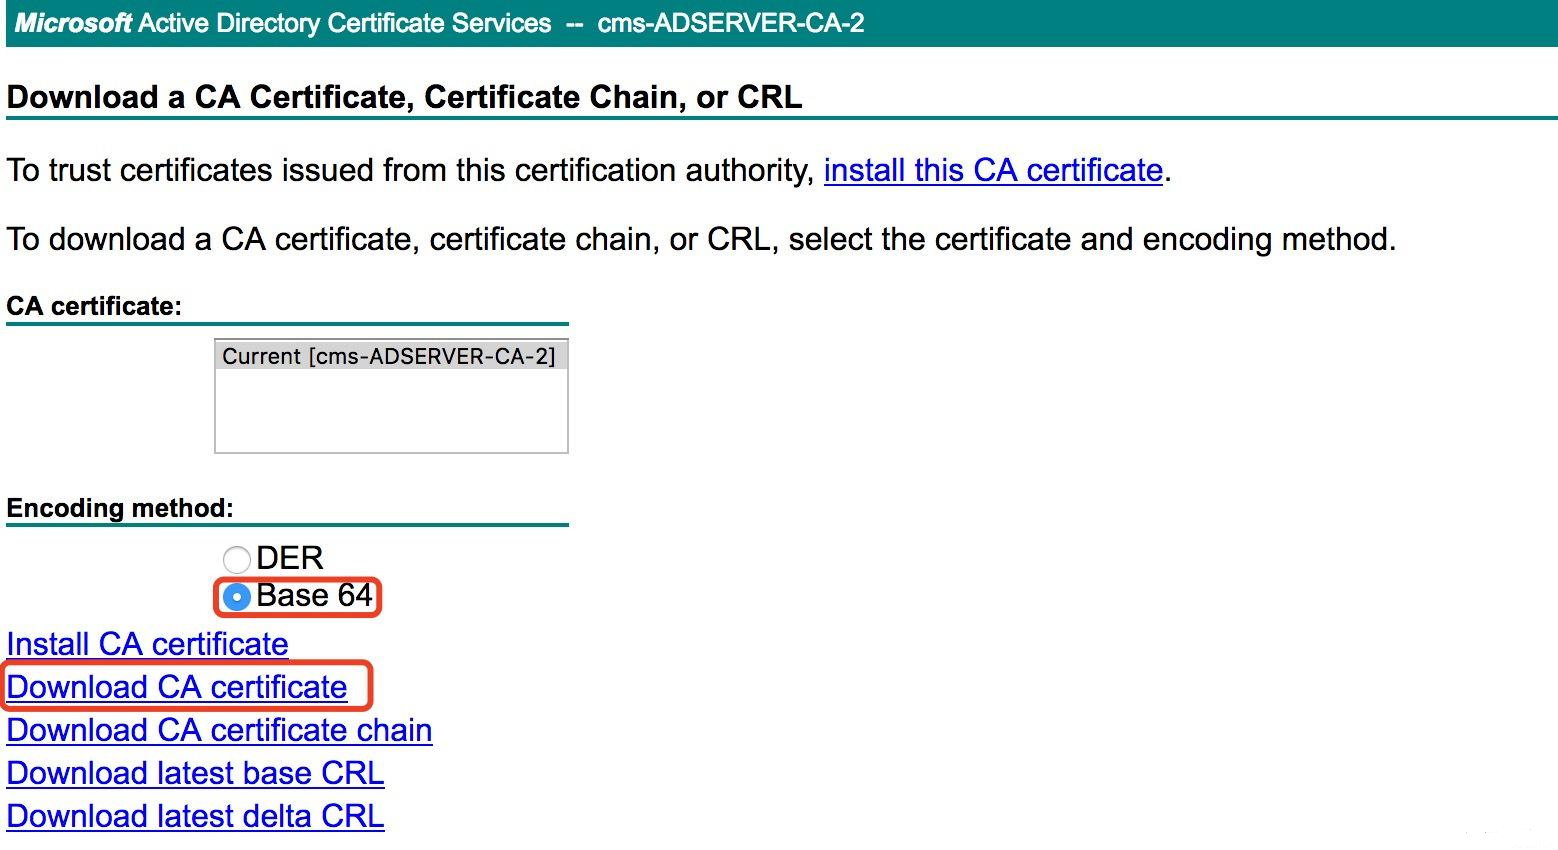
A. Download the root certificate from CA or OpenSSL, as shown below (CA is used for this example):
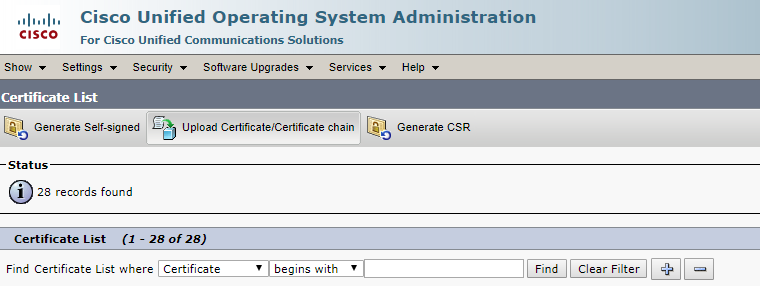
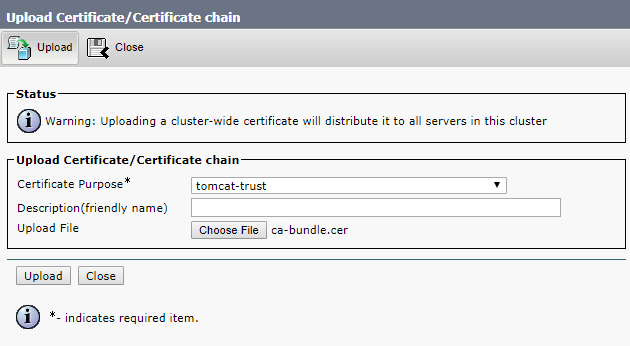
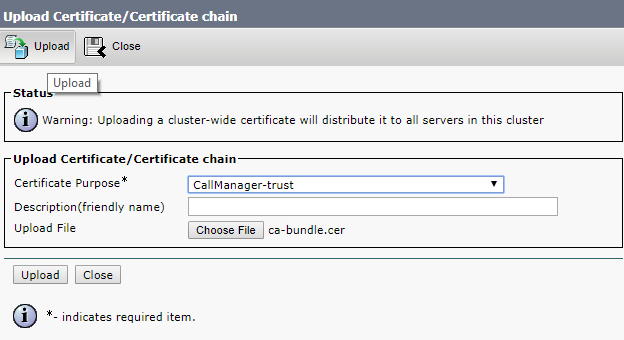
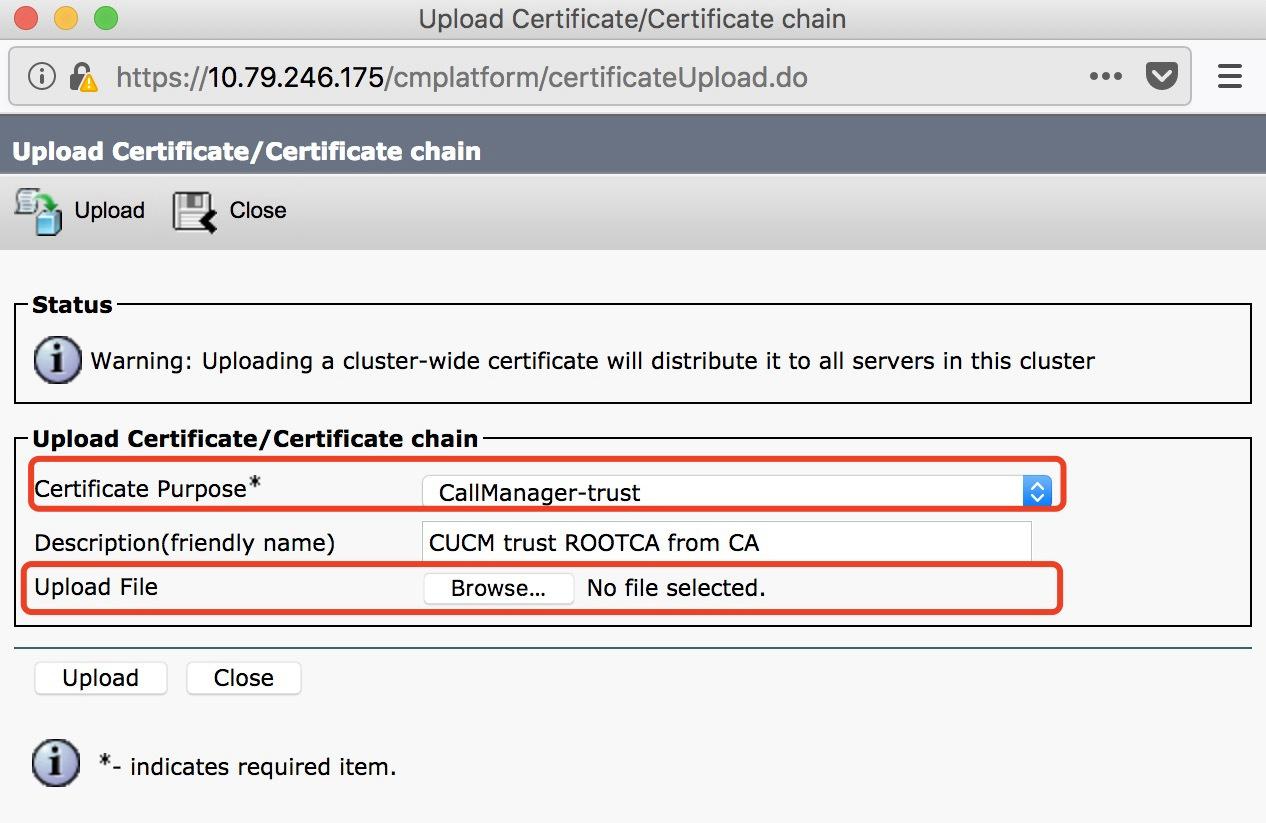
B. Upload the root certificate to callmanger-trust.
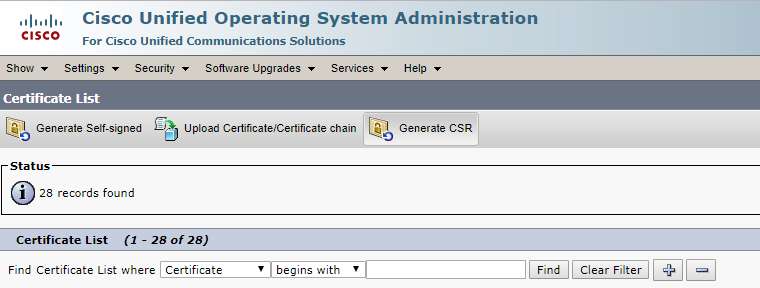
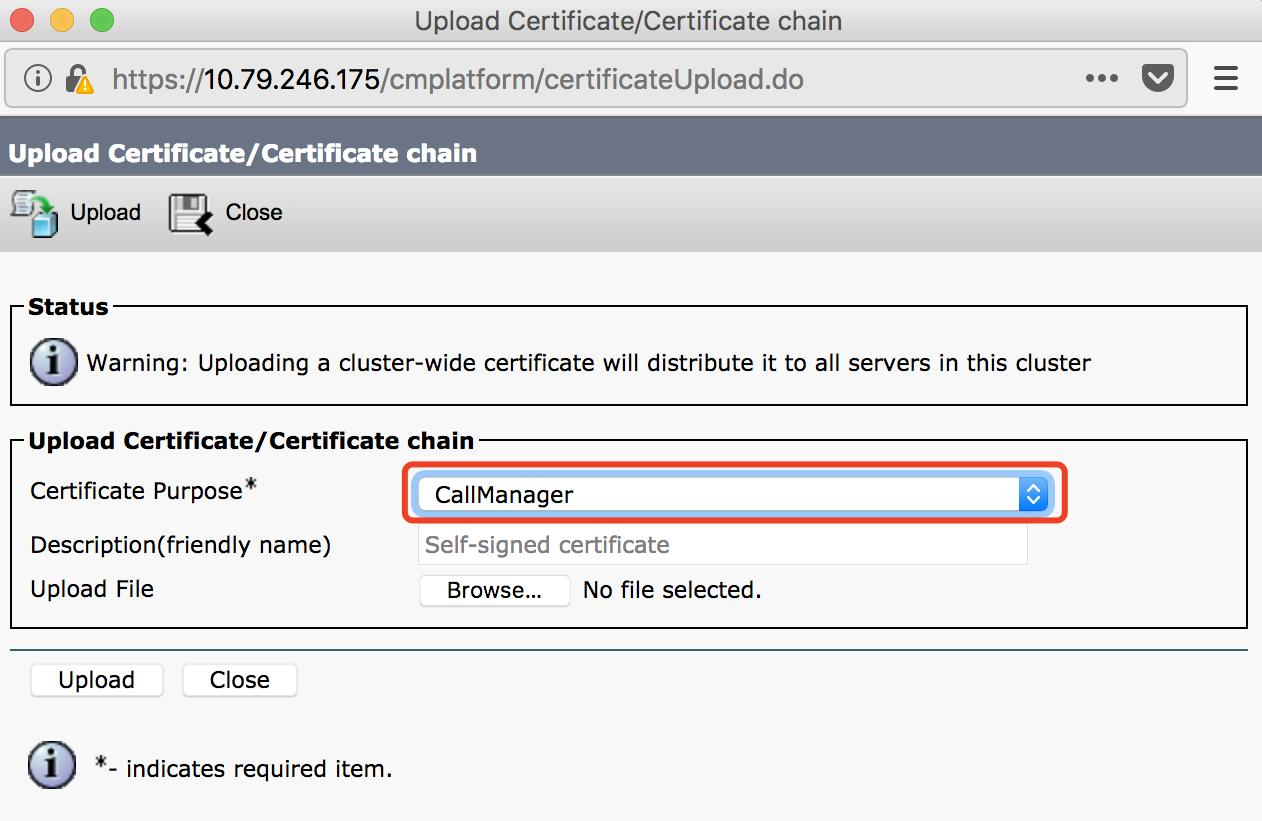
Log in to CUCM > Cisco Unified OS Administration > Security > Certificate management, click Upload Certificate / Chain Certificate, fill in the parameter fields and click upload.
- Certificate Purpose: CallManager-trust
- Description (friendly name): CUCM trust ROOTCA from CA
- Upload file: rootca.cer (select your file)
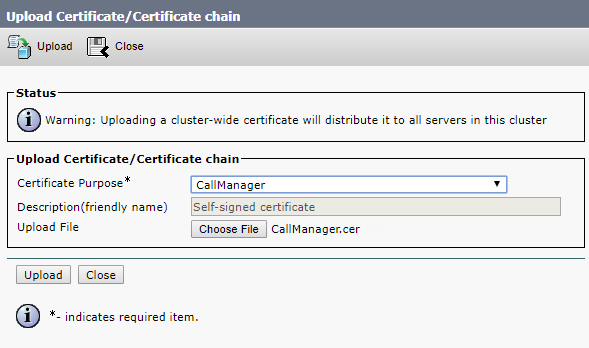
C. CUCM uploads the certificate and applies it to Call Manager.
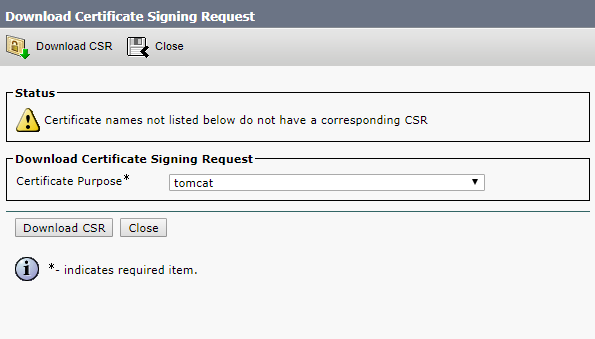
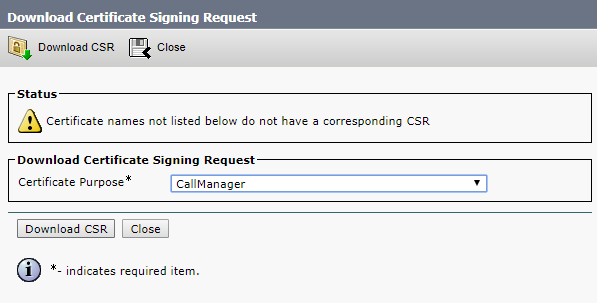
1. Create a request:
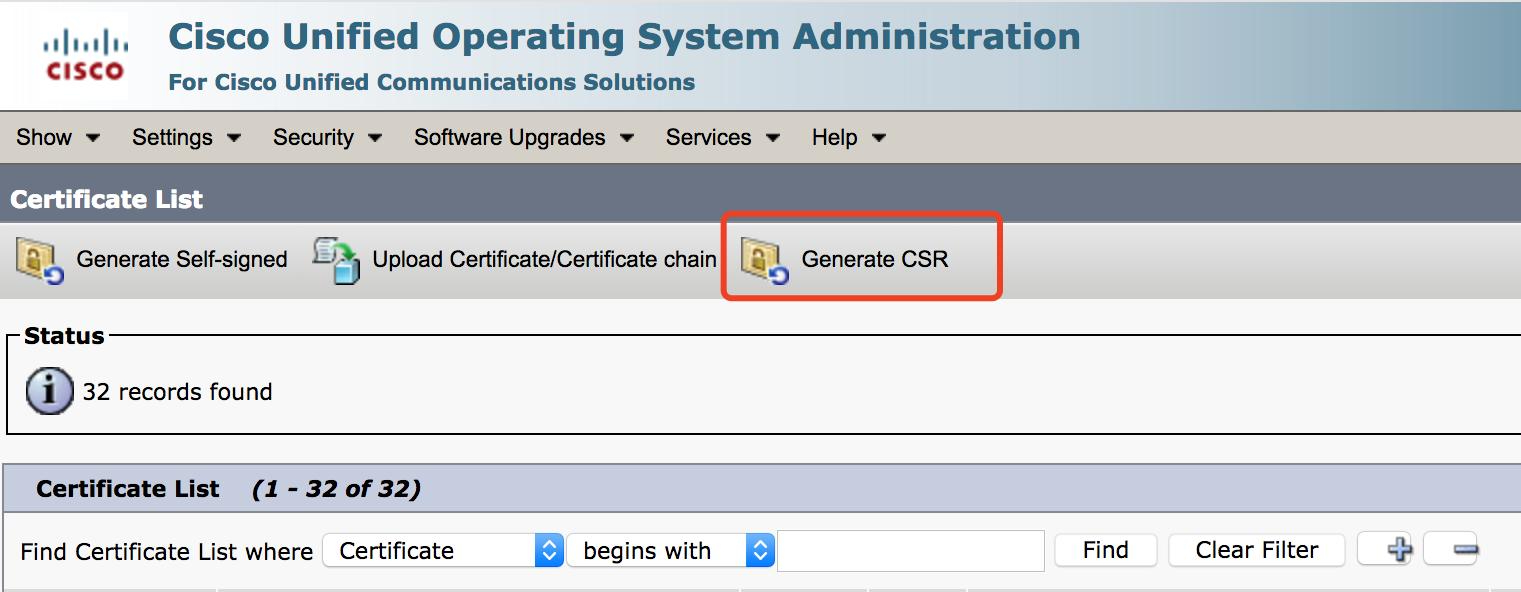
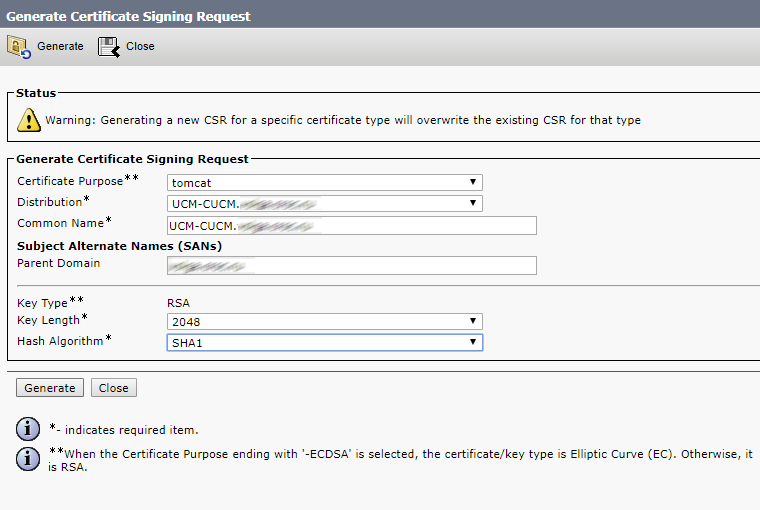
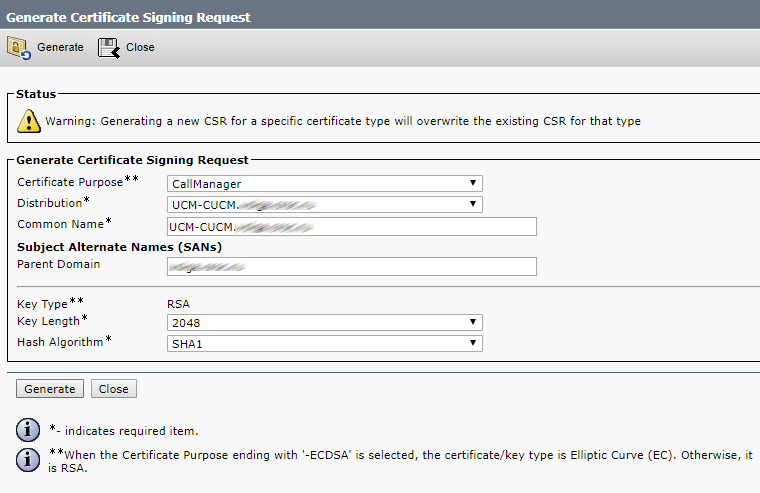
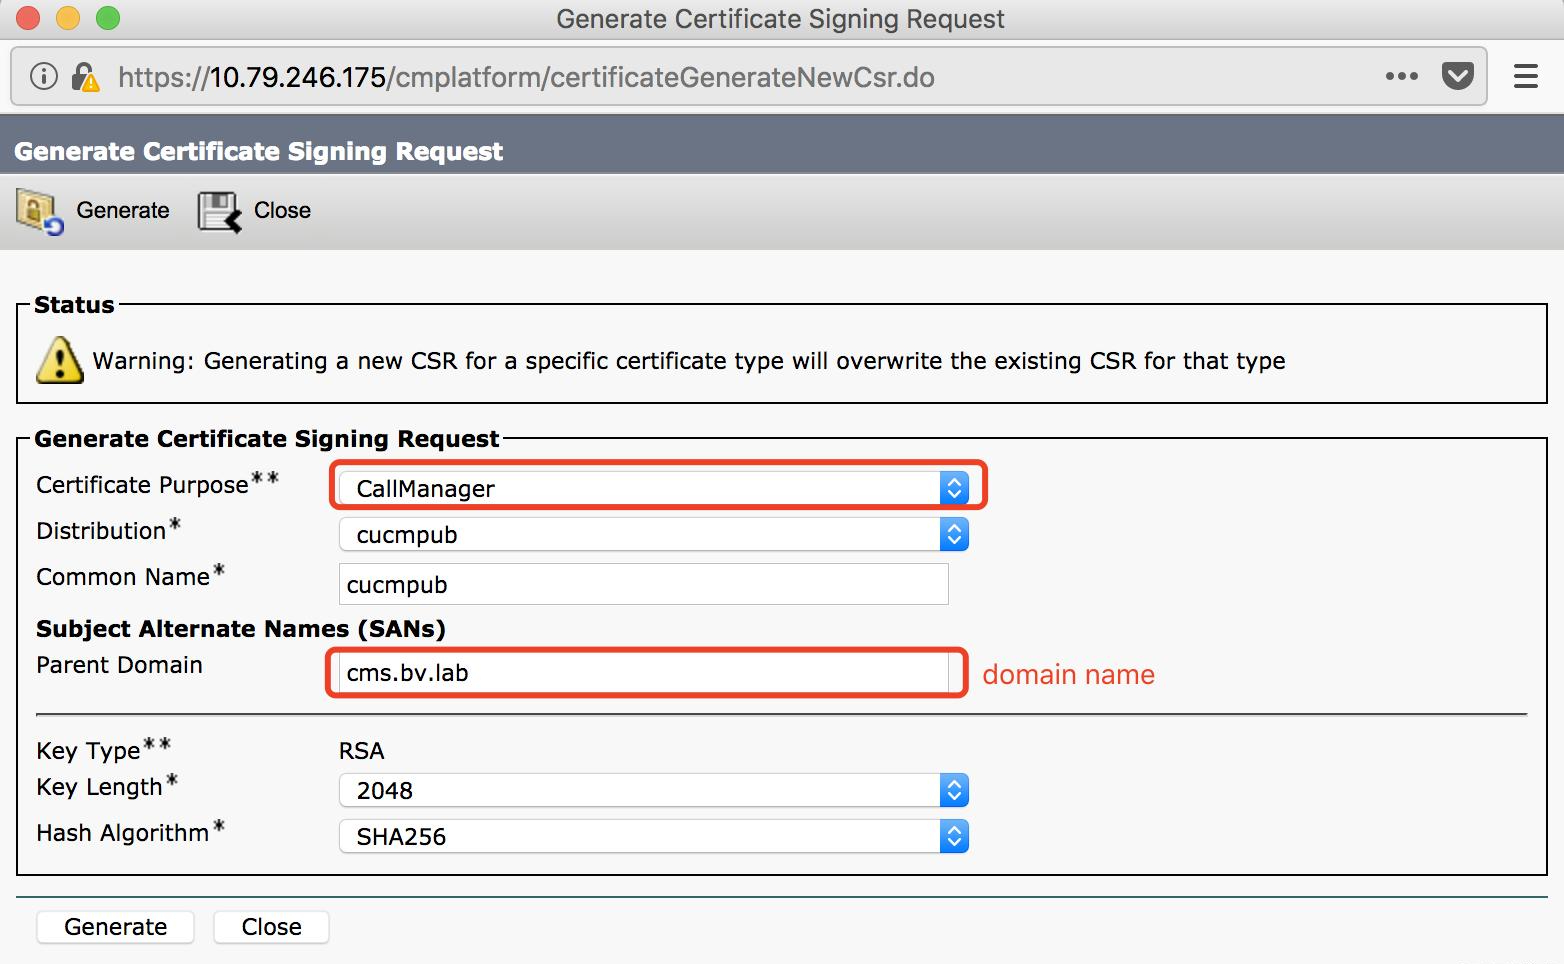
Generate a Certificate Signing Request
Certificate Purpose: CallManager
Distribution field: default
Common Name field: default
Subject Alternate Names (SANs)
Parent domain: cms.bv.lab (domain name)
Key Type: RSA
Length field: default (2048)
Hash Algorithm field: default (SHA256)
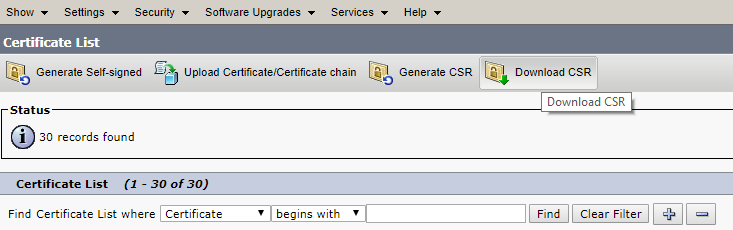
2. Upload the generated CSR.
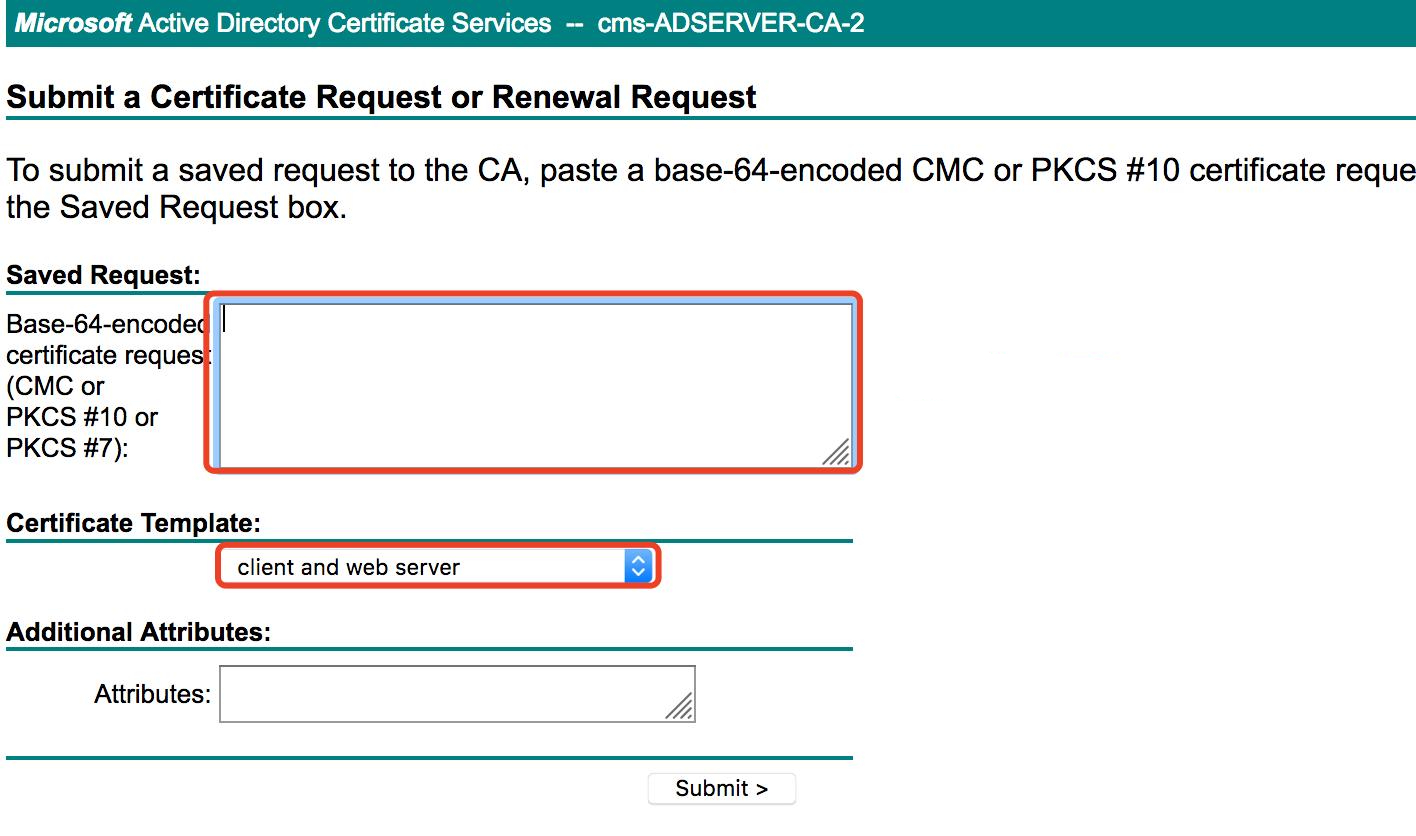
3. Generate a certificate.
Log in to CA http://10.79.246.137/certsrv > Certificate Request > extended certificate request, click Submit.
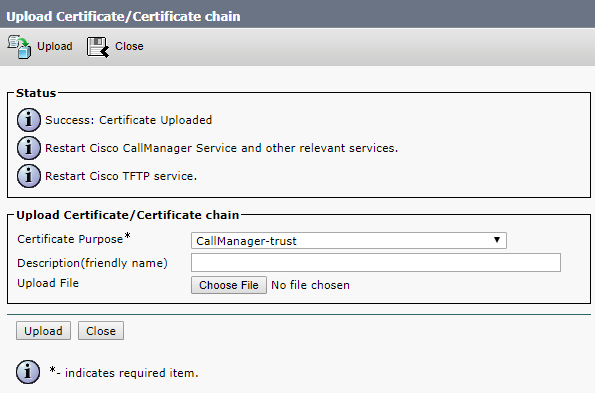
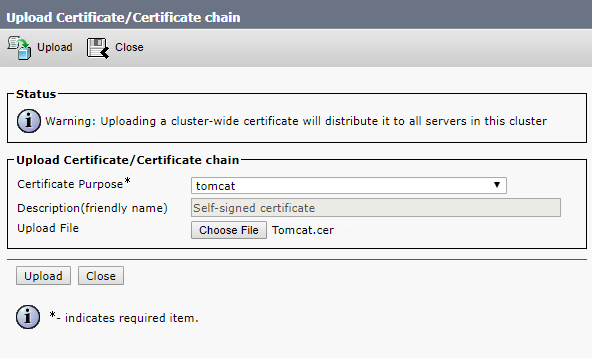
4. Upload the certificate to CUCM.
Log in to CUCM > Cisco Unified OS Administration > Security > Certificate Management, click Upload Certificate / Chain Certificate, fill in the parameter fields and click Upload.
(2) CMS Certificate
A. Create a CSR and upload cama.csr:
pki csr cmsa
CN:cms.bv.lab (domain name)
subjectAltName:cmsa.cms.bv.lab,cmsb.cms.bv.lab,cmsc.cms.bv.lab,10.79.246.177,10.79.246.178,10.79.246.185 (all domain
names and addresses in the CMS cluster)
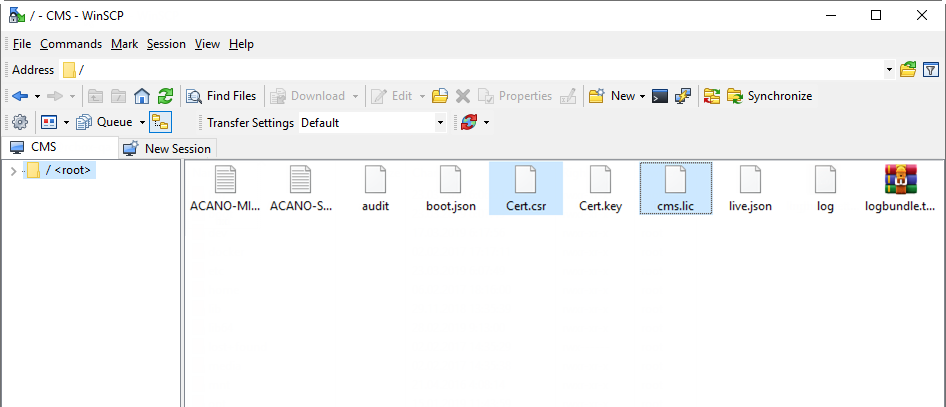
pki list
User supplied certificates and keys:
cmsa.key
cmsa.csr
B. Generate Certificate
Log in to CA http://10.79.246.137/certsrv > Certificate Request > extended certificate request, click Submit.
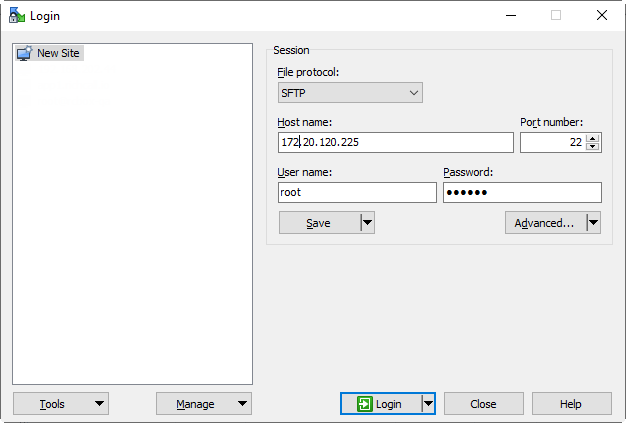
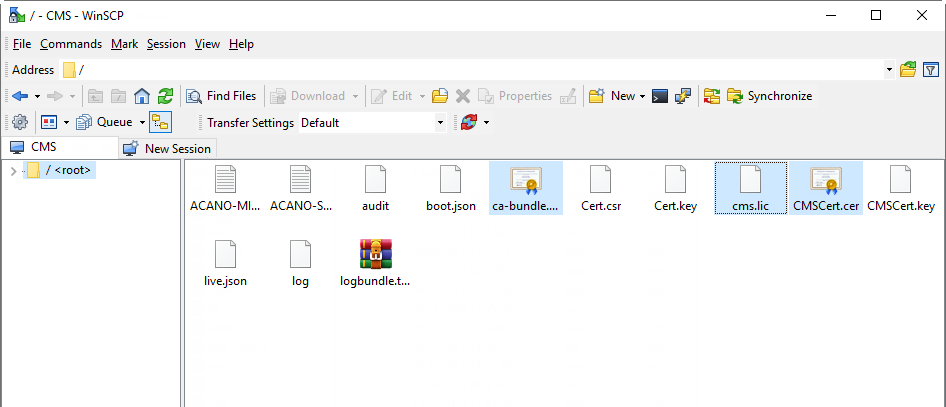
C. Upload root certificate and CMS certificate
pki list
User supplied certificates and keys:
cmsa.cer
rootca.cer
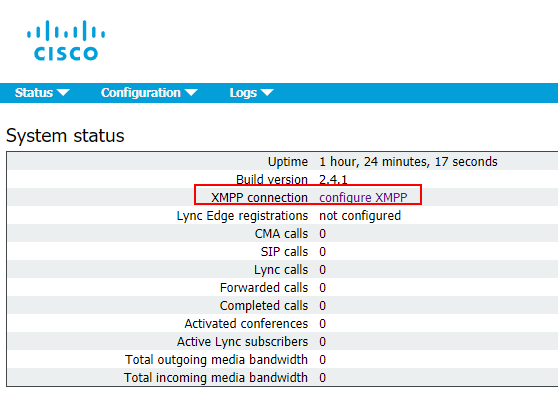
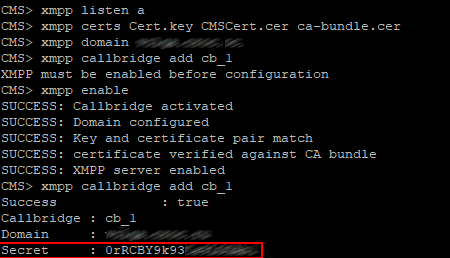
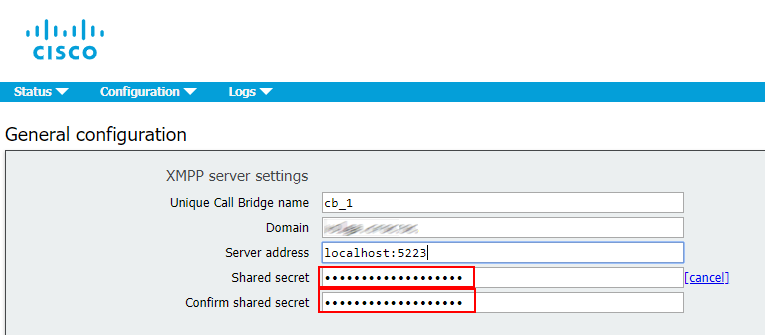
CMS-related Configuration
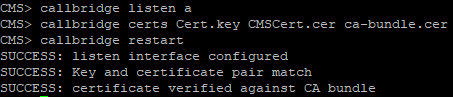
A. Configure a Call Bridge
cmsa > callbridge
Listening interfaces : a
Preferred interface : none
Key file : cmsa.key
Certificate file : cmsa.cer
Address : none
CA Bundle file : rootca.cer
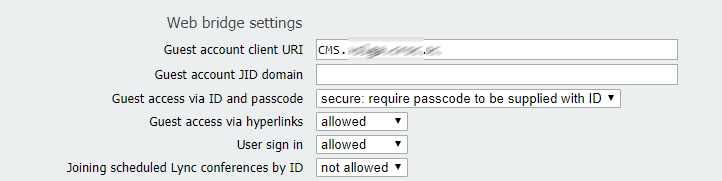
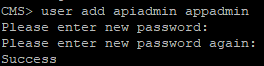
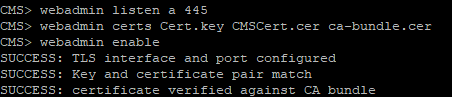
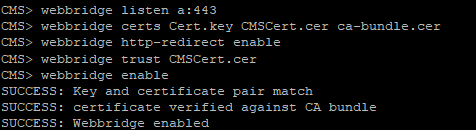
B. Configure Webadmin
cmsa > webadmin
Enabled : true
TLS listening interface : a
TLS listening port : 8443
Key file : cmsa.key
Certificate file : cmsa.cer
CA Bundle file : rootca.cer
HTTP redirect : Disabled
STATUS : webadmin running
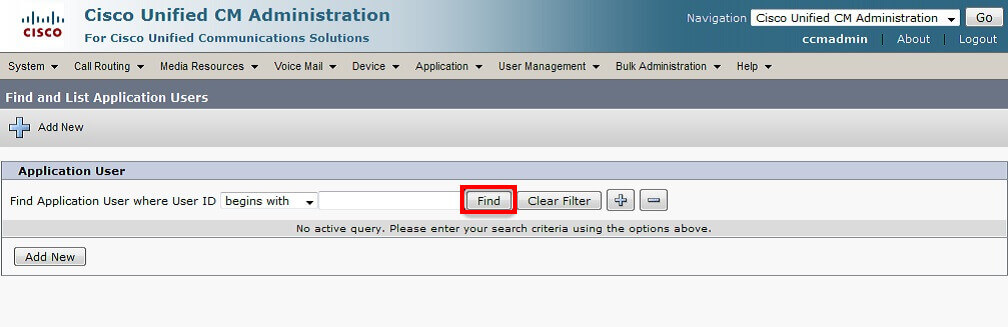
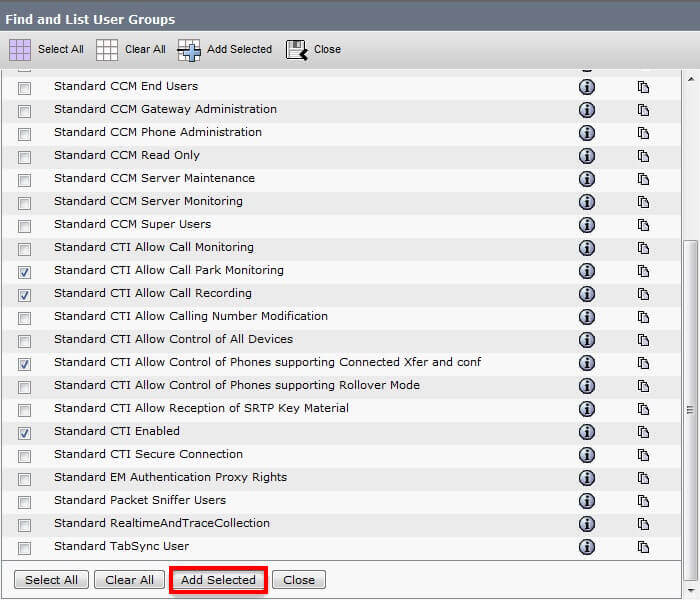
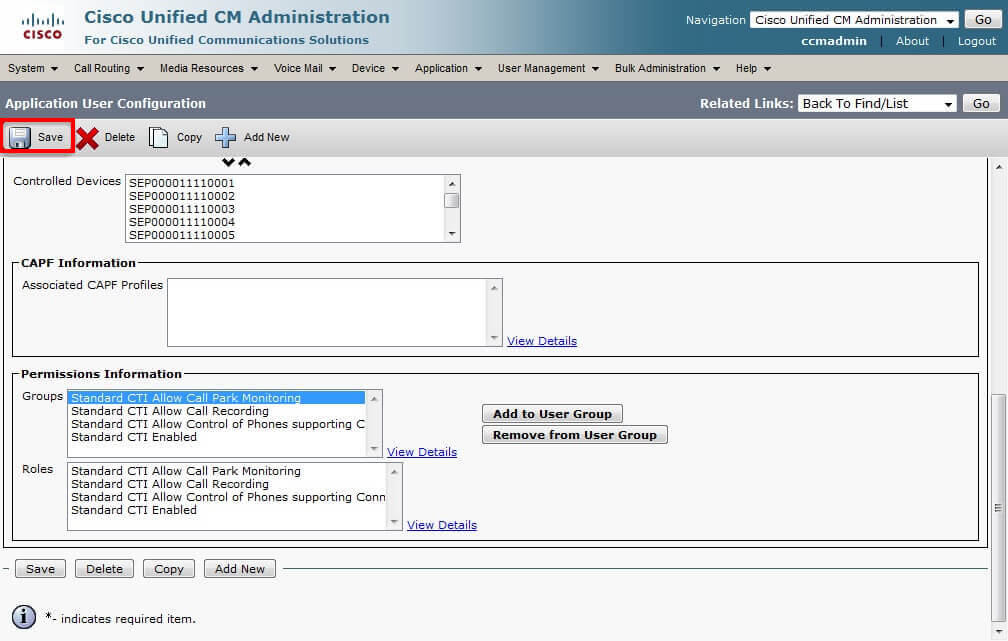
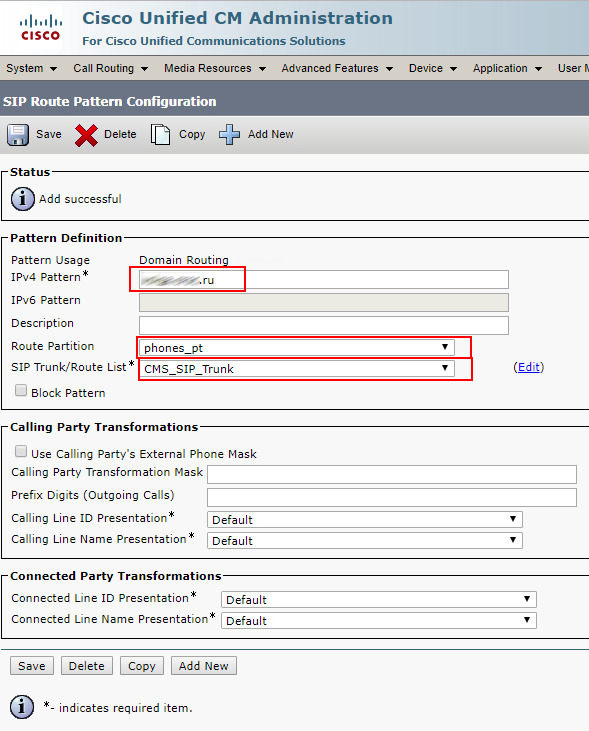
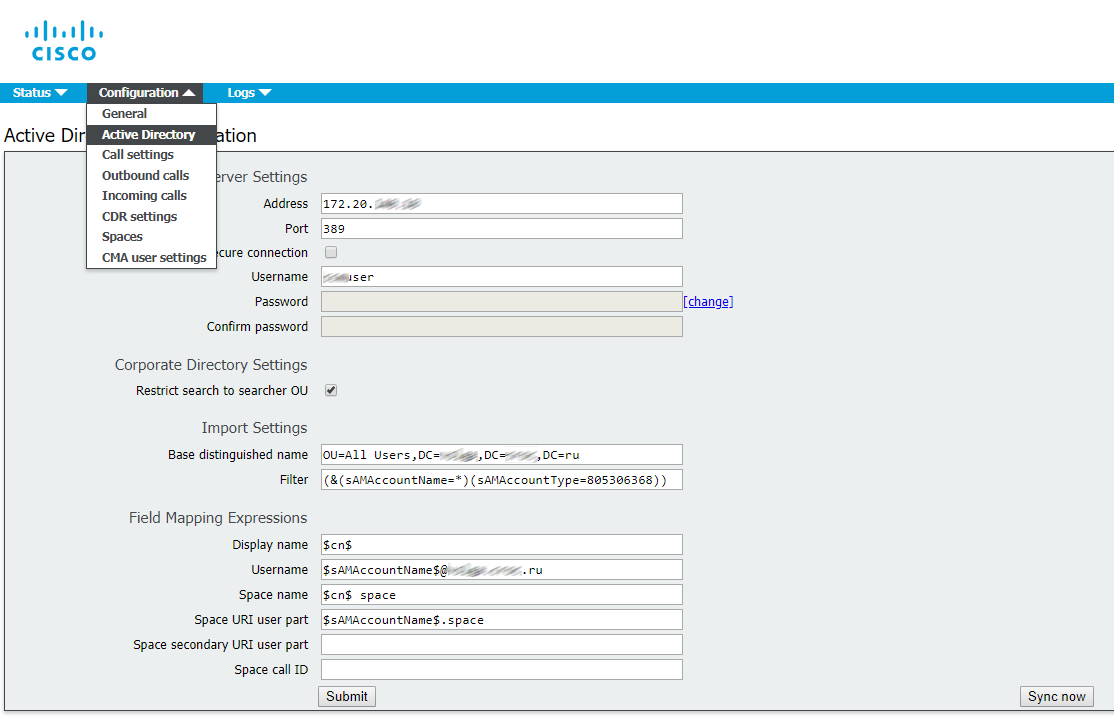
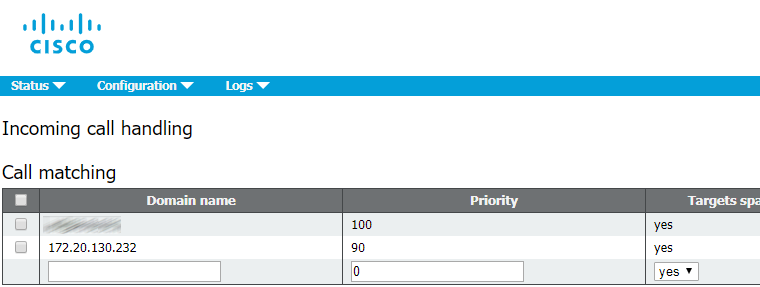
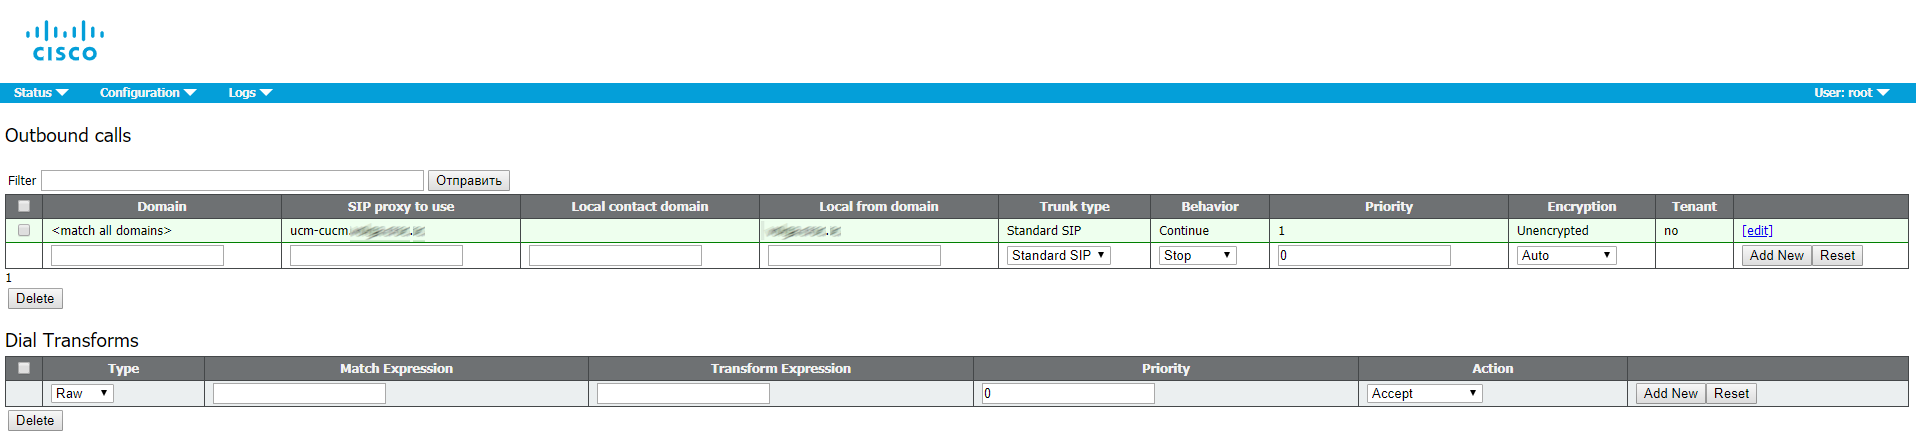
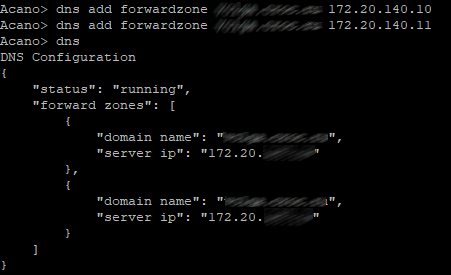
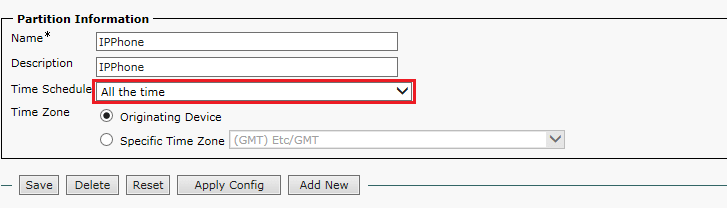
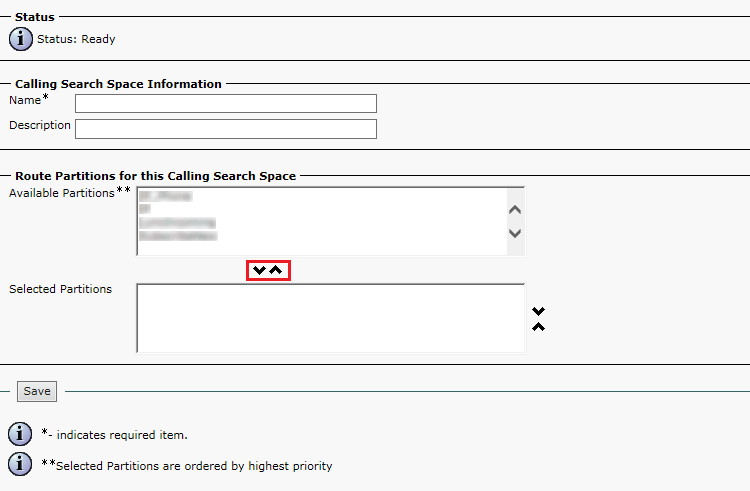
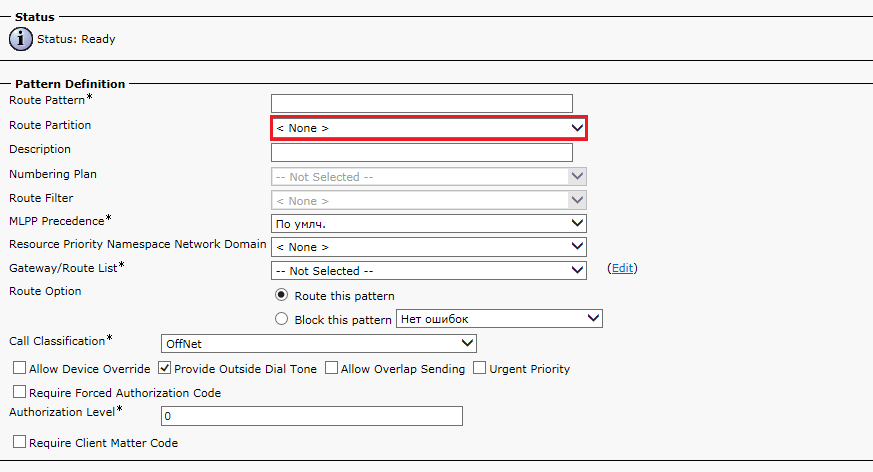
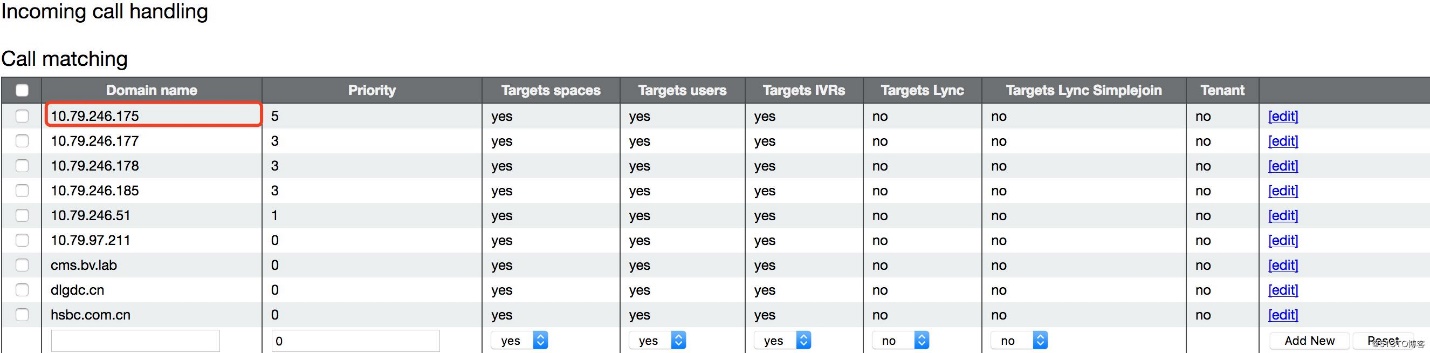
C. Configure Incoming Call Handling
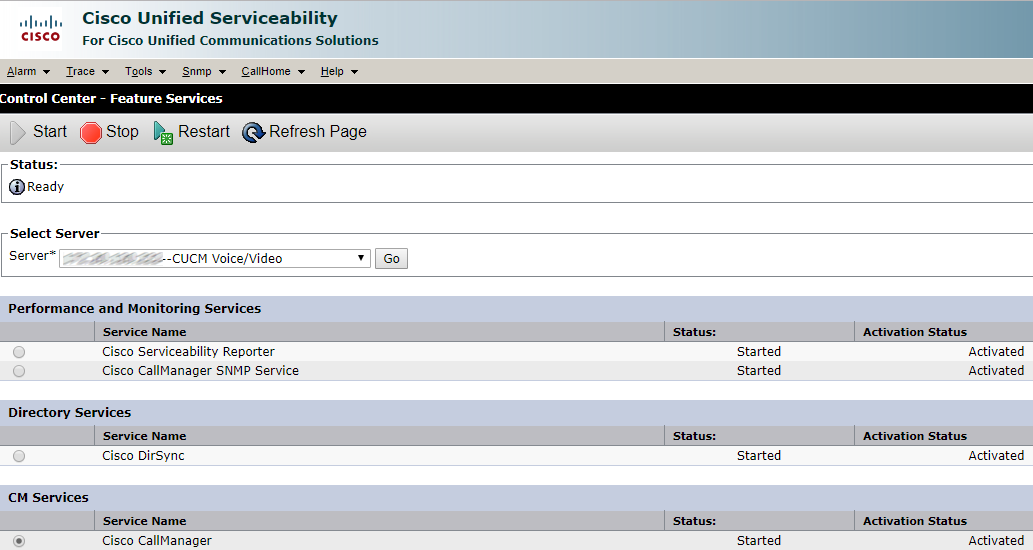
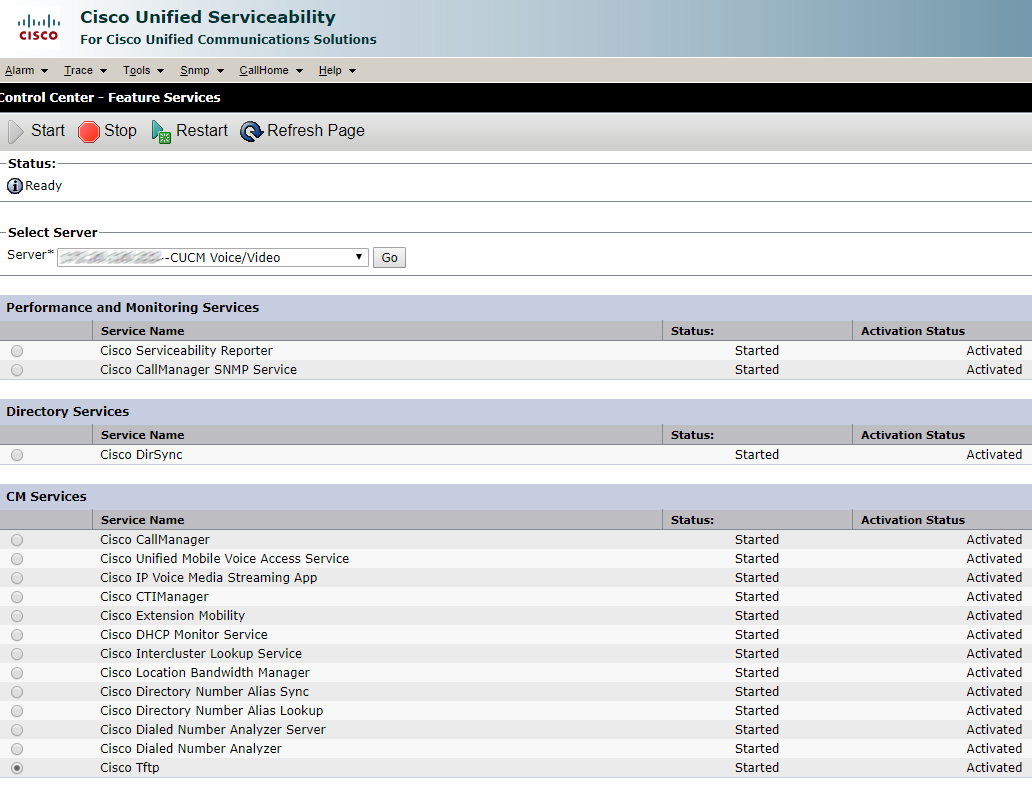
CUCM-related Configuration
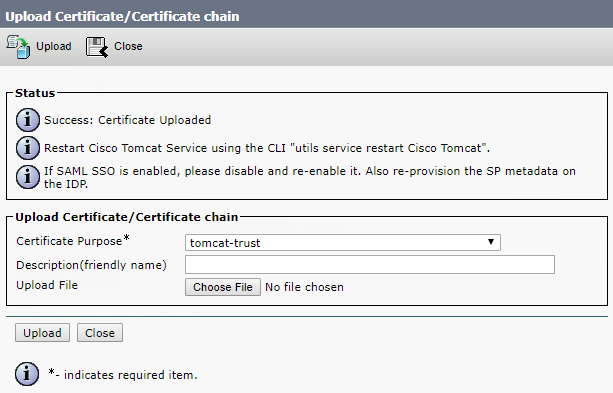
A. Upload the CMS webadmin certificate to callmanager-trust
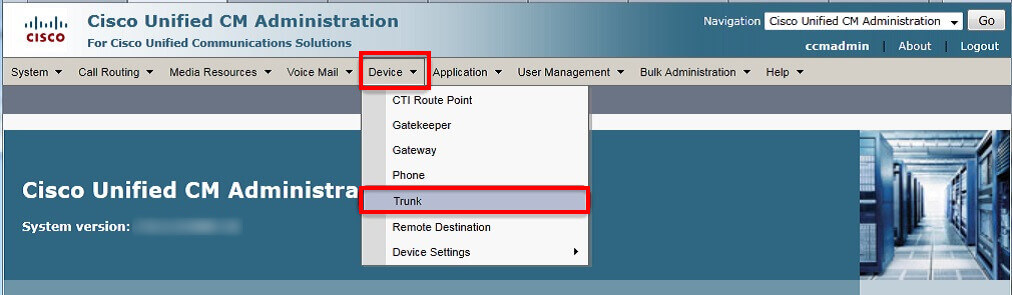
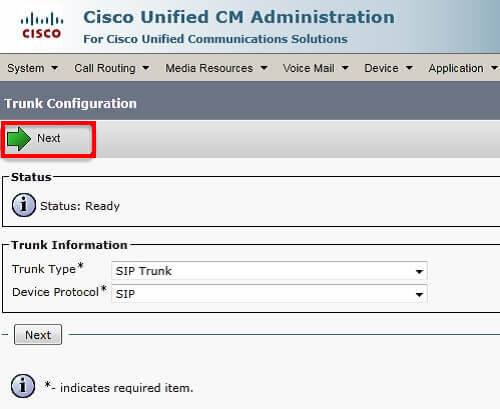
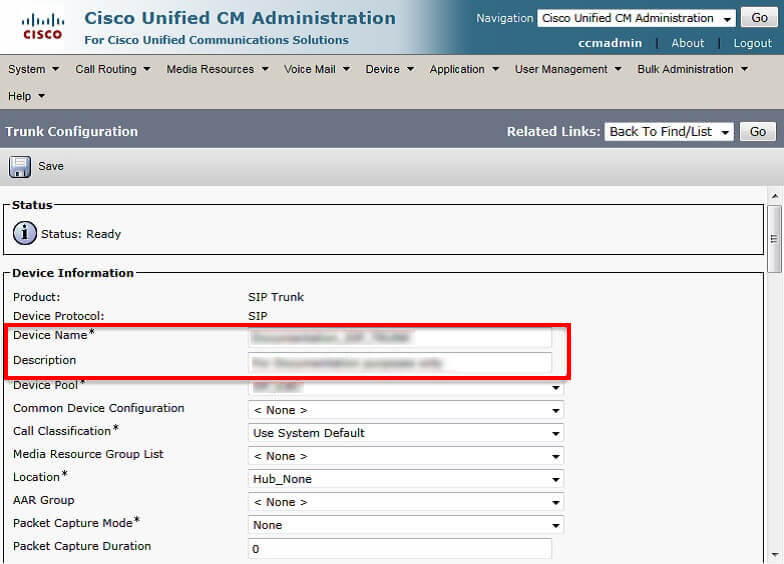
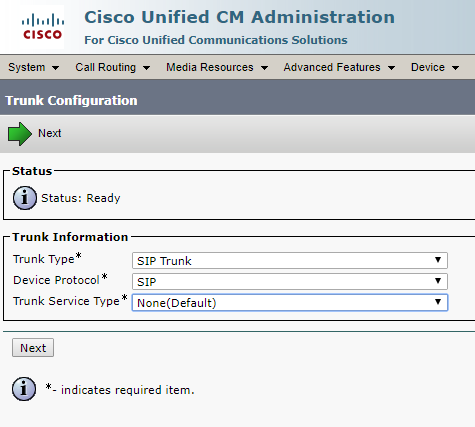
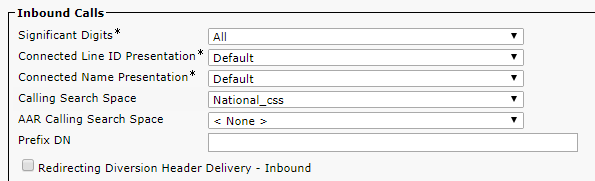
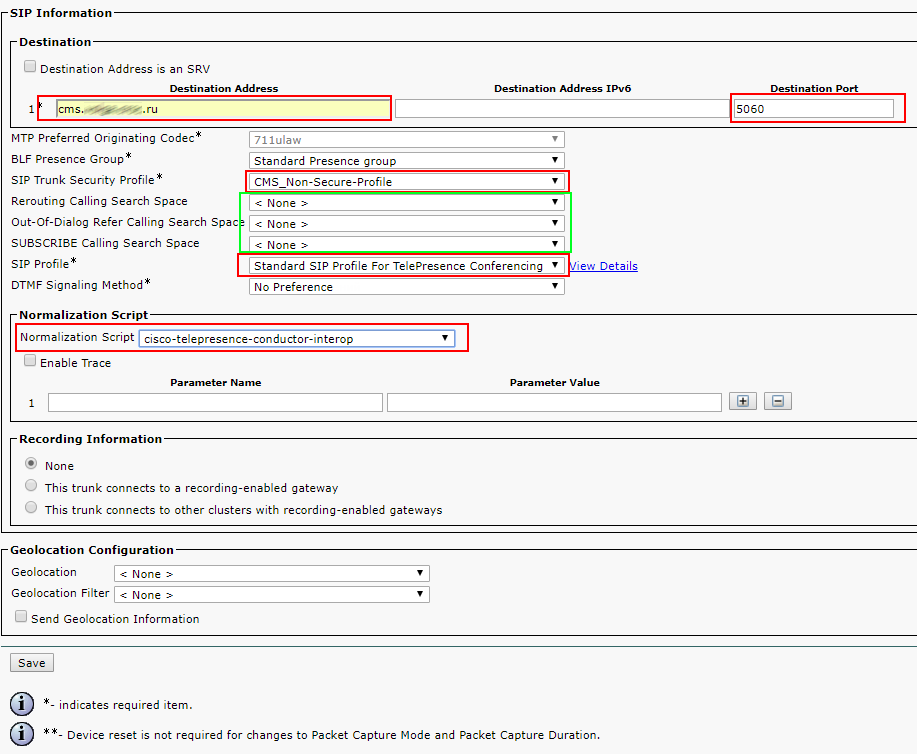
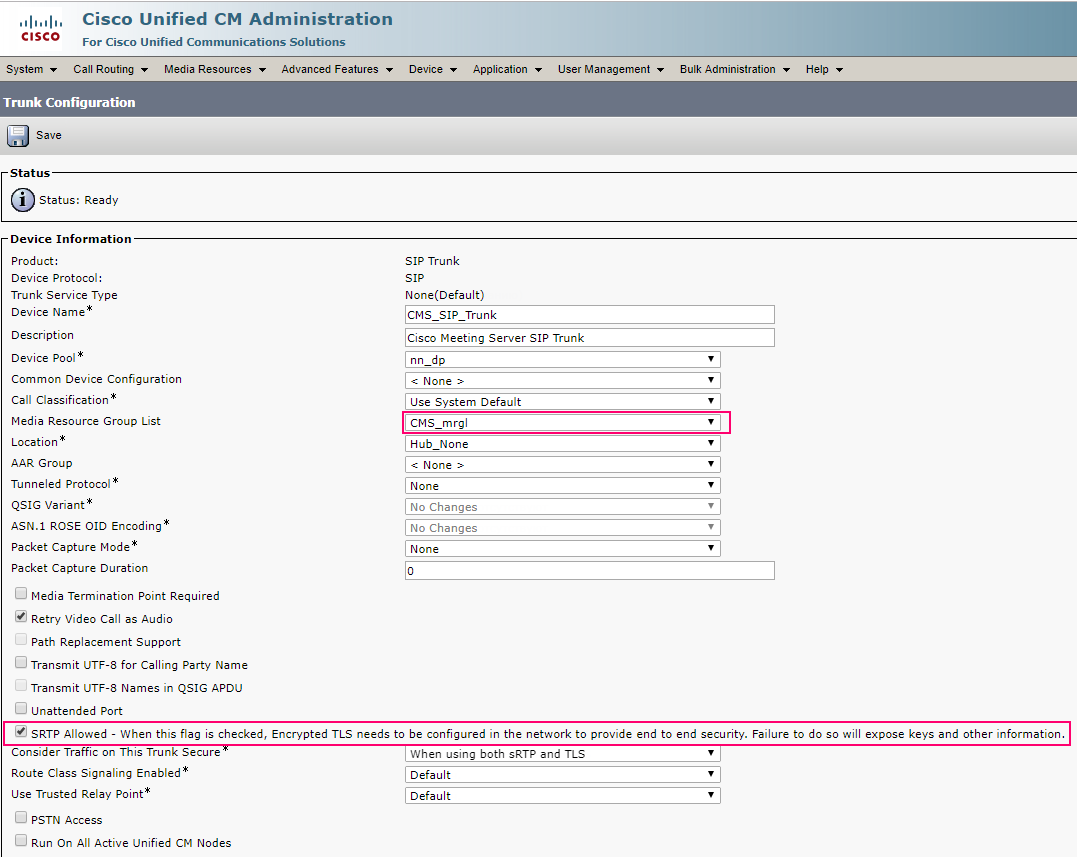
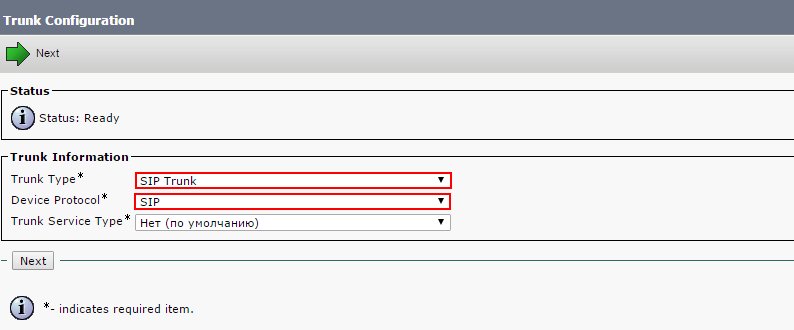
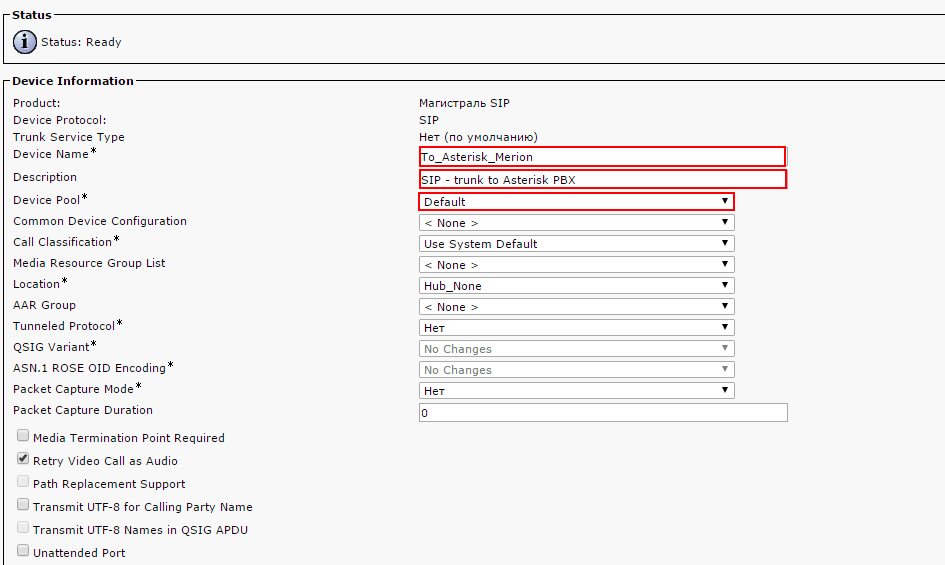
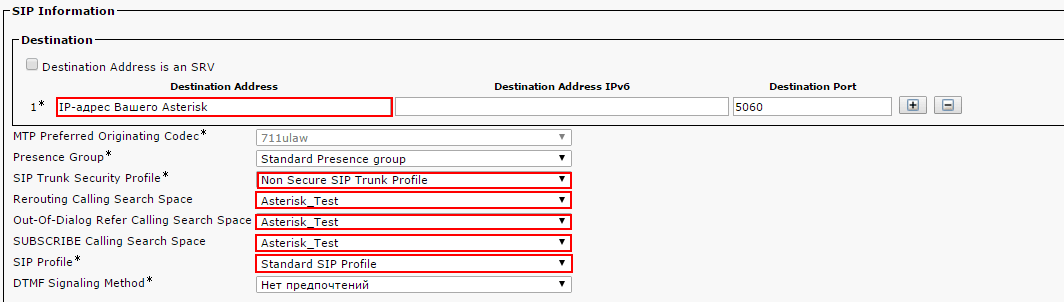
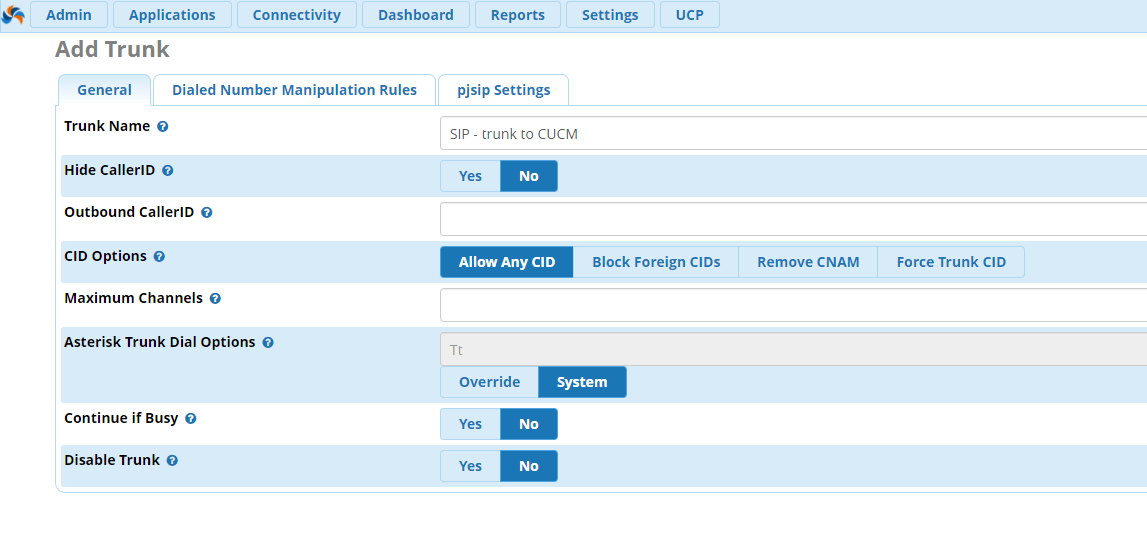
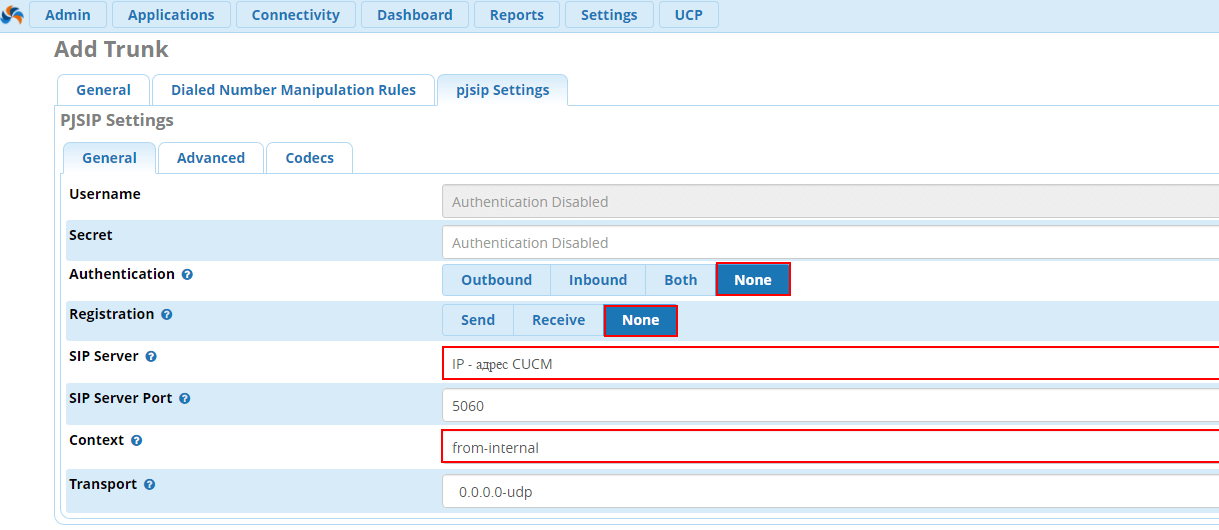
B. Create a trunk
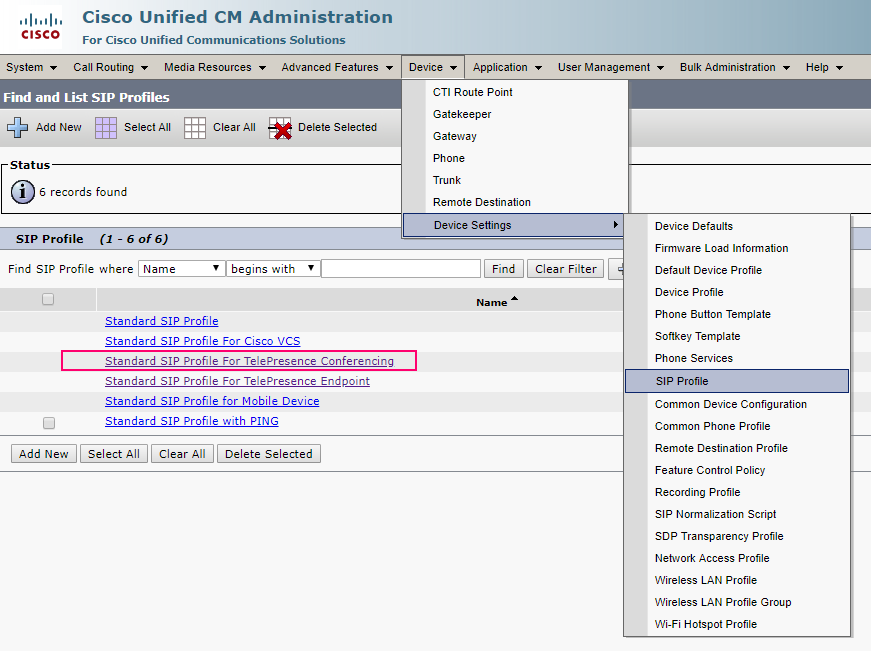
C. SIP profile
- Use Fully Qualified Domain Name in SIP Requests
- Conference Join Enabled
- Deliver Conference Bridge Identifier
- Enable OPTIONS Ping to monitor destination status for Trunks with Service Type "None (Default)" – optional
- Allow Presentation Sharing using BFCP
- Allow iX Application Media
- Allow multiple codecs in answer SDP – optional
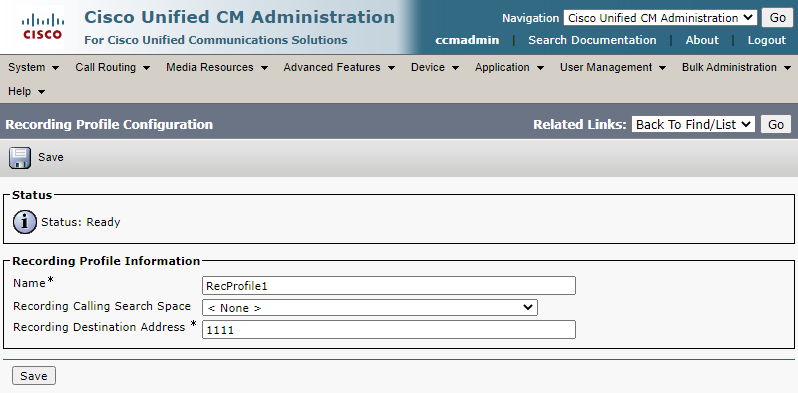
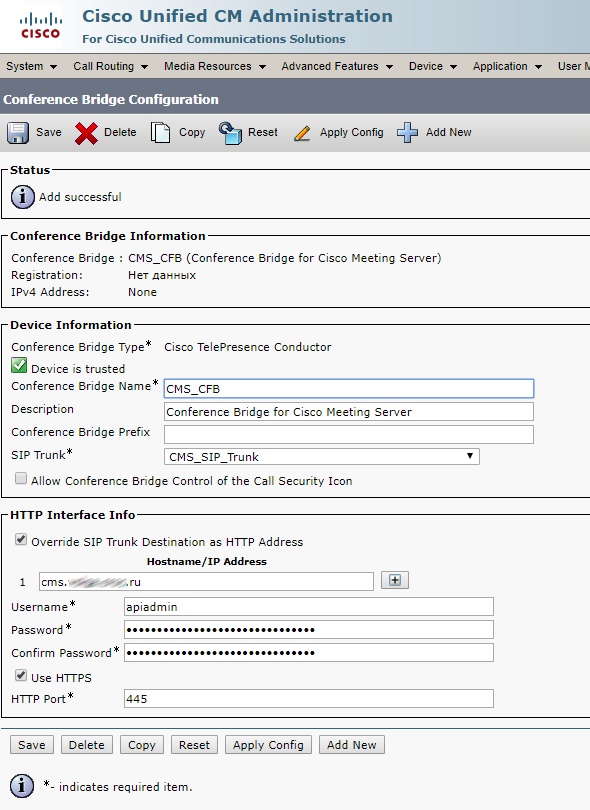
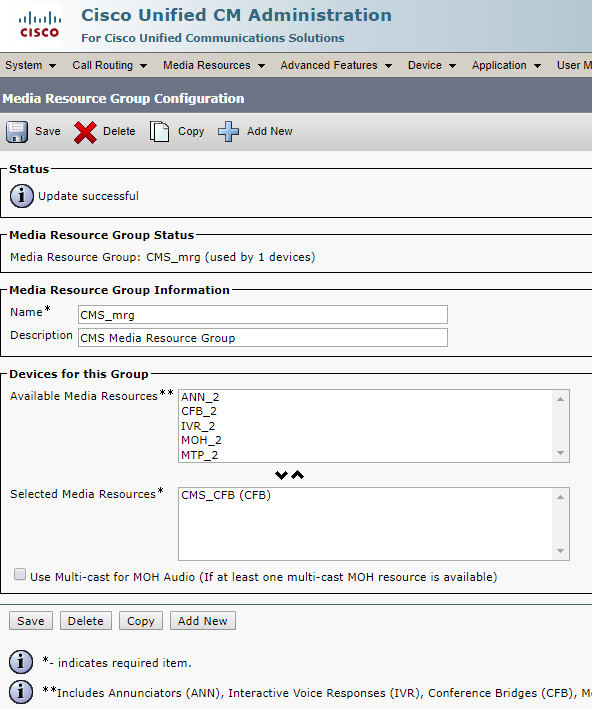
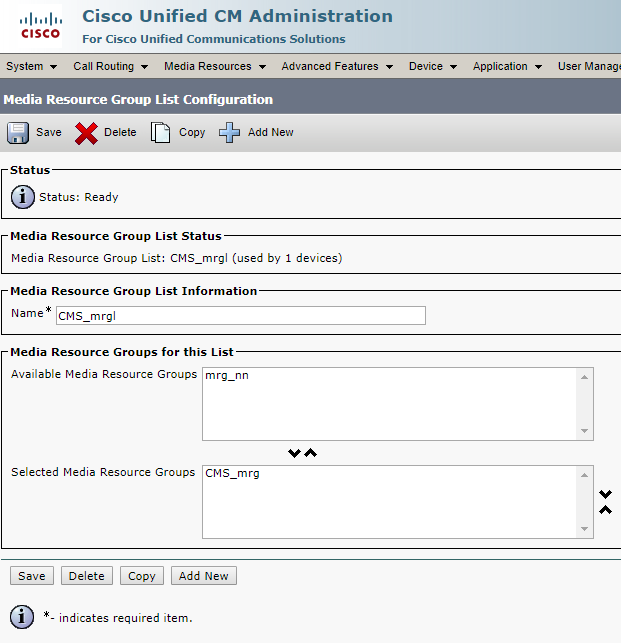
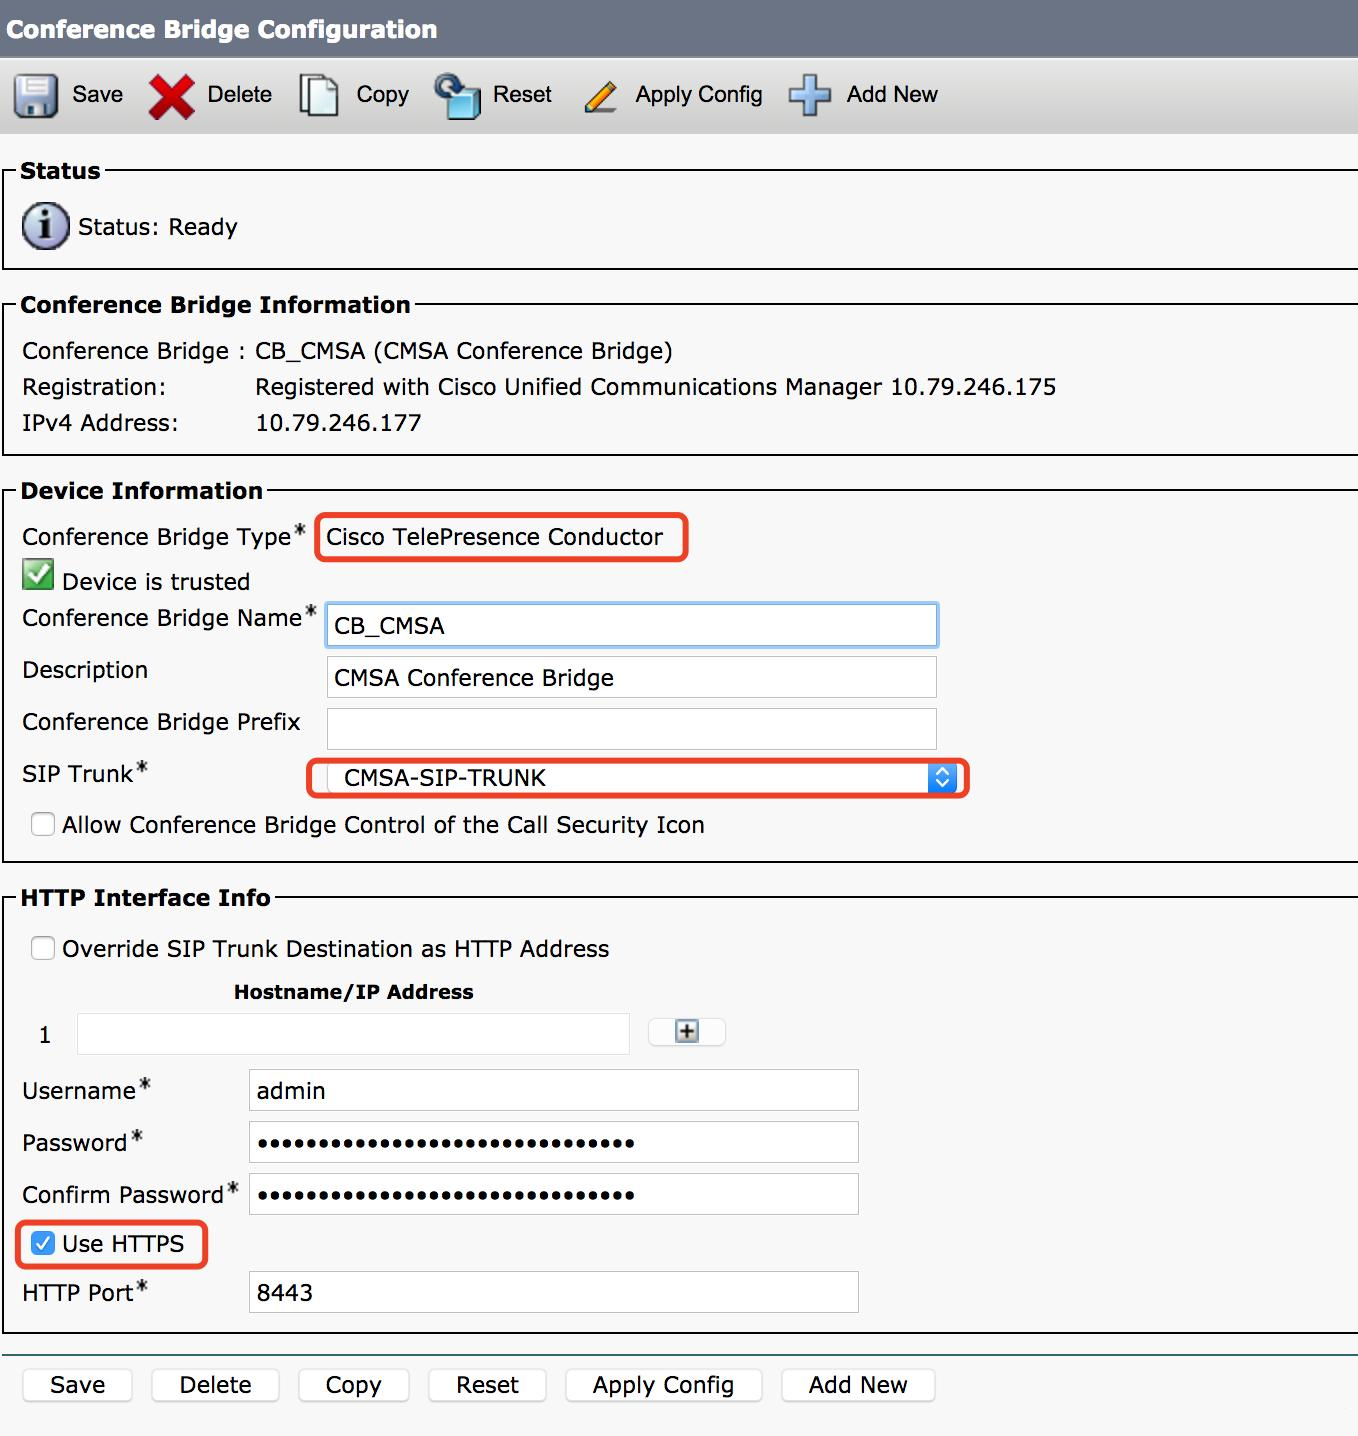
D. Add a conference bridge
- HTTP port is a port number for CMS webadmin access. (Note: for CUCM 11.5.1 SU3 or newer, you can choose “Cisco Meeting Server” conference bridge type; for older versions you can only use “Cisco Telepresence Conductor”.)
Cisco Official link for certificate: https://www.cisco.com/c/en/us/support/docs/conferencing/meeting-server/213820-configure-cisco-meeting-server-and-cucm.html