 Cisco Meeting Server is an audio and video conferencing solution. You can join clients from different software products (SIP, Cisco UCM, Skype for Business (Lync), etc.) in a single conference. This article includes some notes based on the results of the work done, with no claim to comprehensiveness.
Cisco Meeting Server Usage Scenario
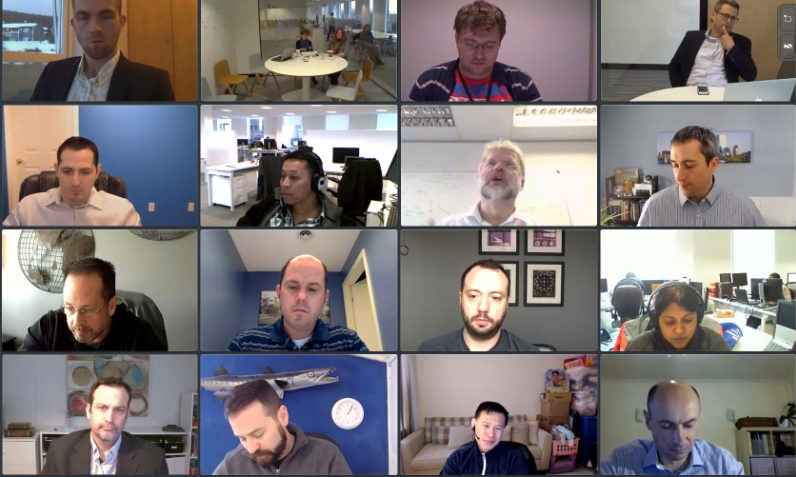
Our environment includes Skype for Business (S4B) and federations with several external partners. We often have to conduct meetings with many remote participants. S4B can only provide 5 simultaneous video streams in a conference, which is not enough. Cisco Meeting Server (CMS) can bypass that restriction, with additional possibility to adjust the layout of video streams in S4B interface for the clients. Like that, for example:
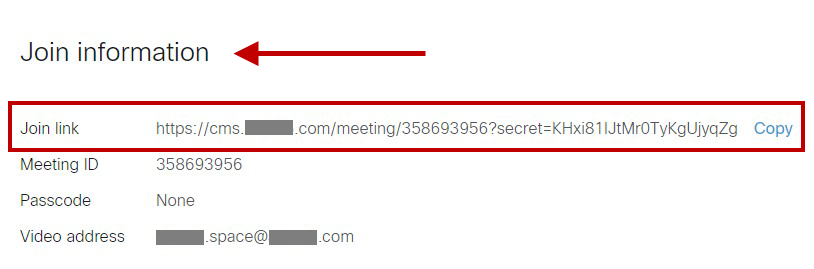
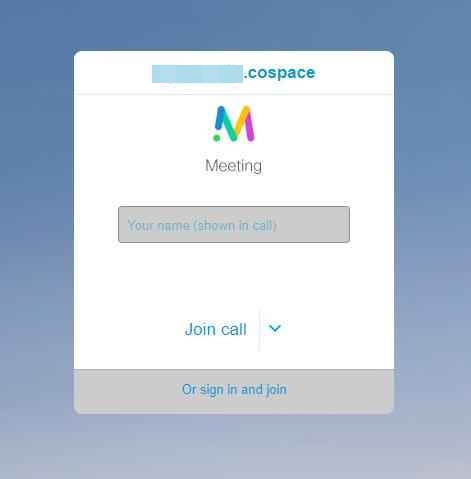
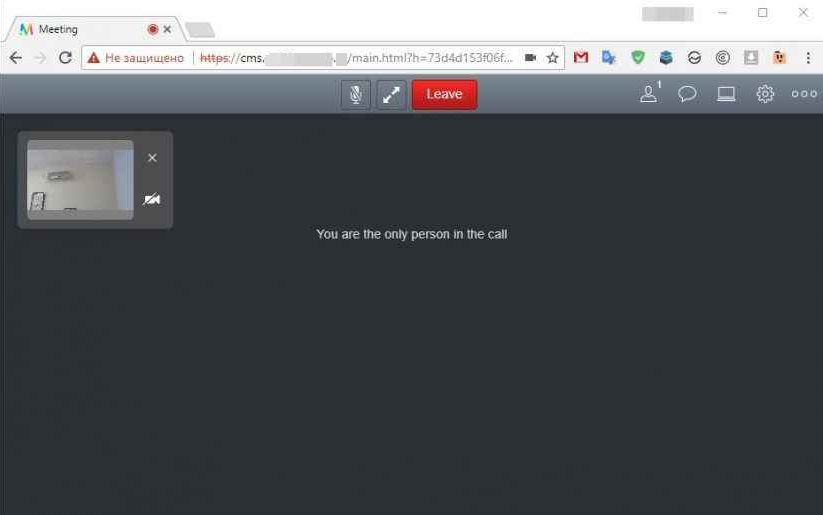
CMS virtual rooms allow not only to invite participants, but also to add clients that don’t have any compatible software at all, using a WebRTC client or a plain telephone call.
Cisco Meeting Server Installation
CMS can be deployed as a standalone piece of hardware as well as a VM. We used a template to deploy a VM on VMWare ESXi. There is also a Hyper-V template. The deployment process is trivial. The only trick, recommended in CMS documentation, is to set the required number of CPU cores (vCPU).
After the deployment is over, open the server console and log in. The default CMS login/password is admin/admin. The system will prompt you to change the password.
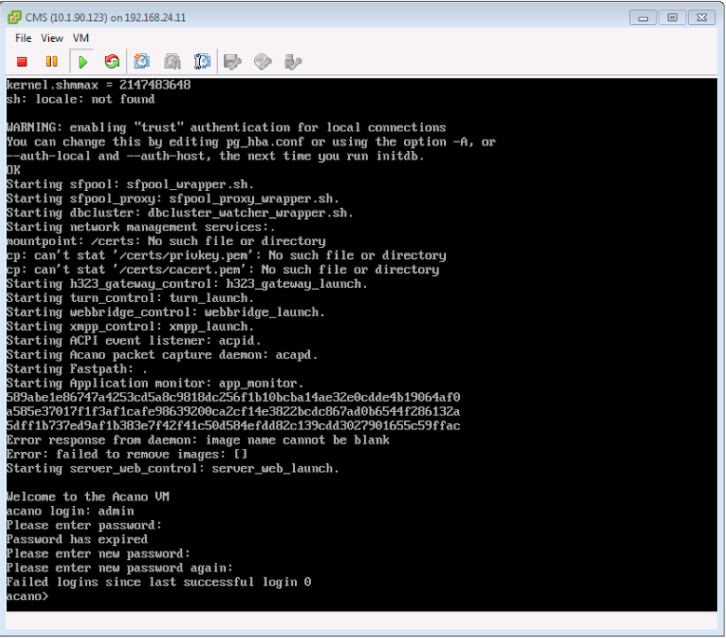
Now you should configure the network parameters. If you have DHCP, you can use ipv4 a command to check the issued address at once.
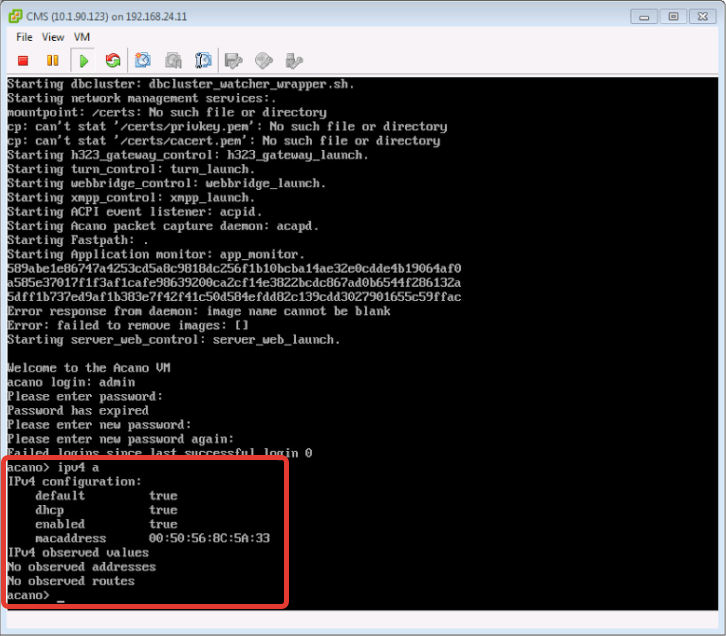
“a” is the name of the first network interface. In CMS, they are named with letters. The next one will be “b”, etc.
You should also save the MAC address from this command’s output. You’ll need it to get a trial or permanent license for CMS.
If DHCP server is unavailable for CMS, you should set an IP address manually. Use the following command:
ipv4 a add x.x.x.x/y z.z.z.z
with x.x.x.x standing for the address, y — the net mask, z.z.z.z — the default gateway. For example:
ipv4 a add 192.168.1.250/24 192.168.1.1
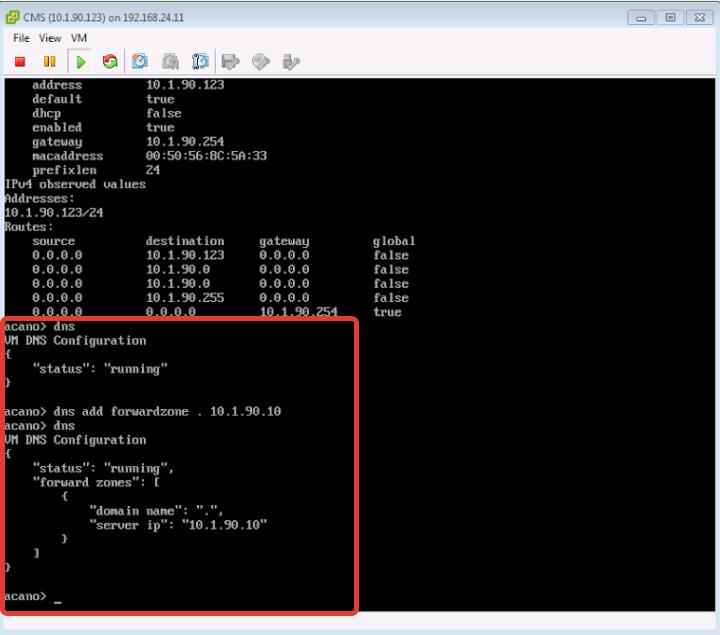
The next step is to configure the DNS server. Use the following command:
dns add forwardzone . y.y.y.y
with y.y.y.y standing for the address of your DNS server with Active Directory zone. The dot means forwarding all requests to the specified server. Use dns command to view the DNS settings.
The network configuration is over. Now you can ping the specified address and log in to CMS via ssh.
CMS Webadmin Configuration
The next step is to configure CMS administration panel. First of all, get an SSL certificate. There are 2 options: to issue a self-signed certificate, or to sign a certificate in your domain certification service (local CA). (You can purchase a certificate as well).
To issue a self-signed certificate, execute the following command:
pki selfsigned webadmin
(webadmin is the name for your key and certificate, you will need it later).
Personally, we decided to issue a certificate signed by a local CA, using a single certificate for all CMS services.
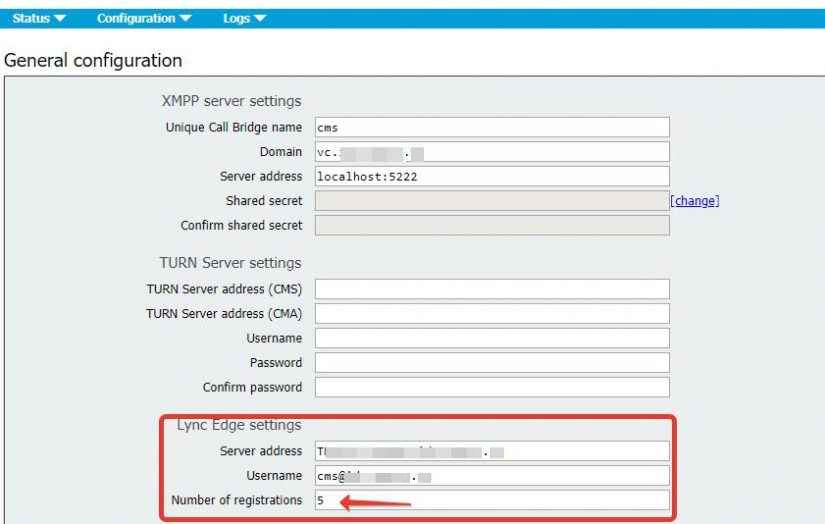
When you are planning a deployment, you have to choose a domain for CMS and host. For example, if domain.com is your domain where S4B is deployed, then it would be better to deploy CMS in a subdomain (e.g. vc.domain.com), so you can configure call routing from S4B to CMS. You should keep this decision in mind while creating a certificate for all services.
The command is:
pki csr onecert CN:cms.vc.domain.com
with onecert standing for the certificate name, CN:cms.vc.domain.com – the CMS host address configured in DNS.
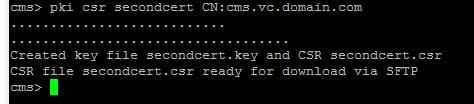
Now you should copy the CSR file to your computer via SSH and issue a certificate for this file. Then upload the resultant certificate with .cer extension to CMS.
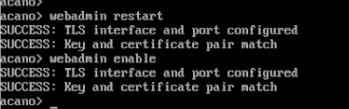
Now you can configure webadmin:
webadmin cert onecert.key onecert.cer
webadmin listen a 445
webadmin restart
webadmin enable
We have chosen port 445 because the standard port 443 may be needed later for a webrtc client for guest access.
Now you can access the admin panel using a URL like this one: https://cms.vc.domain.com:445
Cisco Meeting Server License Installation
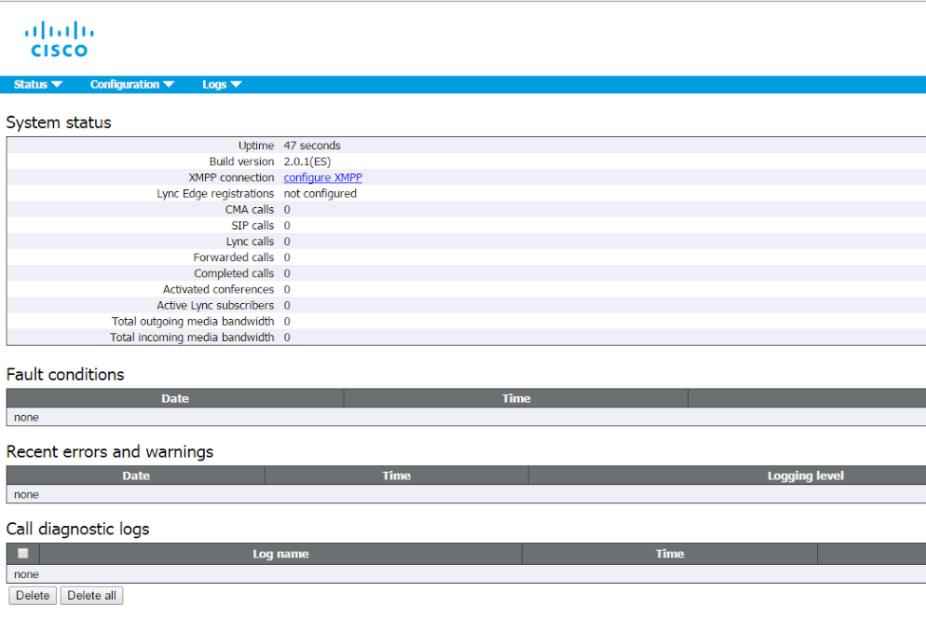
After you have entered CMS webadmin, you’ll see the following warning:
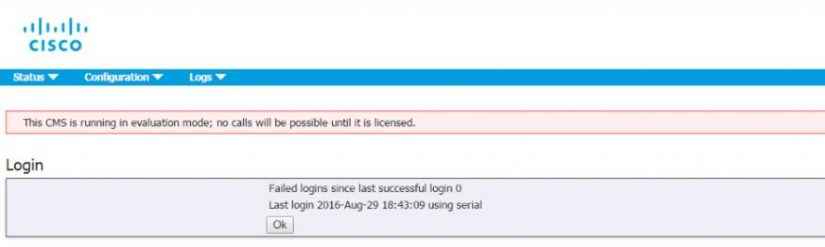
You have to get and install a license file. Send the previously obtained MAC address to Cisco and wait for an answer with a license file.
Save that file and rename it into cms.lic, then upload it to CMS via an ssh client (e.g. WinSCP).
Now you should configure and run callbridge. You will need a certificate again. We used a single certificate for all services, so the configuration commands looked like this:
callbridge certs onecert.key onecert.cer
callbridge listen a
callbridge restart
If you log in to webadmin now, you’ll see that the warning is gone.
The first part of configuration is done.