 In this article we’re going to tell you about active call recording configuration for Cisco UCM (CUCM). In a few words, active recording is a more comfortable, flexible, scalable and efficient call recording tool for Cisco devices (with BiB support). “Comparing to what?” you may ask. The answer will be: comparing to passive recording. Passive recording is performed by the means of traffic mirroring (using SPAN/RSPAN/ERSPAN).
It works like this: the recorder server collects a call’s metadata through API (in CUCM, JTAPI is a part of CTI), and RTP stream comes from a phone through BiB (Built-In Bridge) directly.
Active recording is supported by such vendors as Nice, ZOOM, Verint, STC (Speech Technology Center) and others. Let us turn now to configuration.
Configuring CUCM Application User
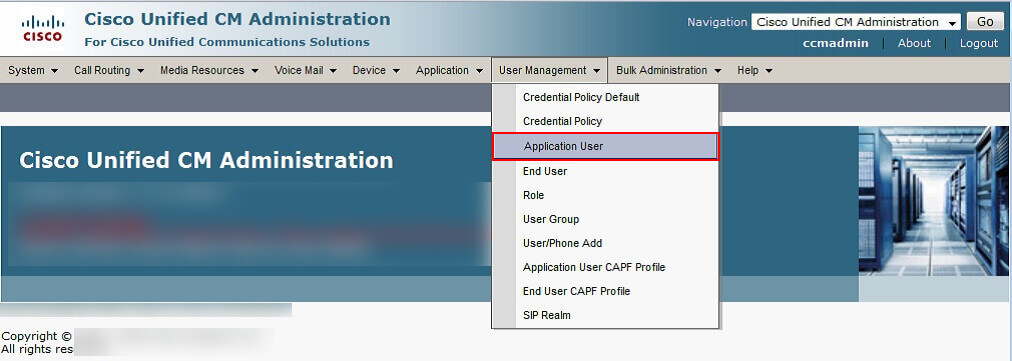
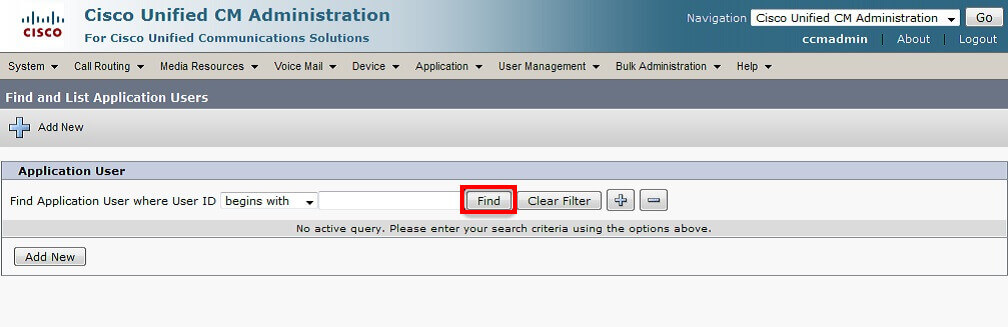
Log in to IP PBX interface. Proceed to User Management → Application User.
Click Add New. The following form appears:
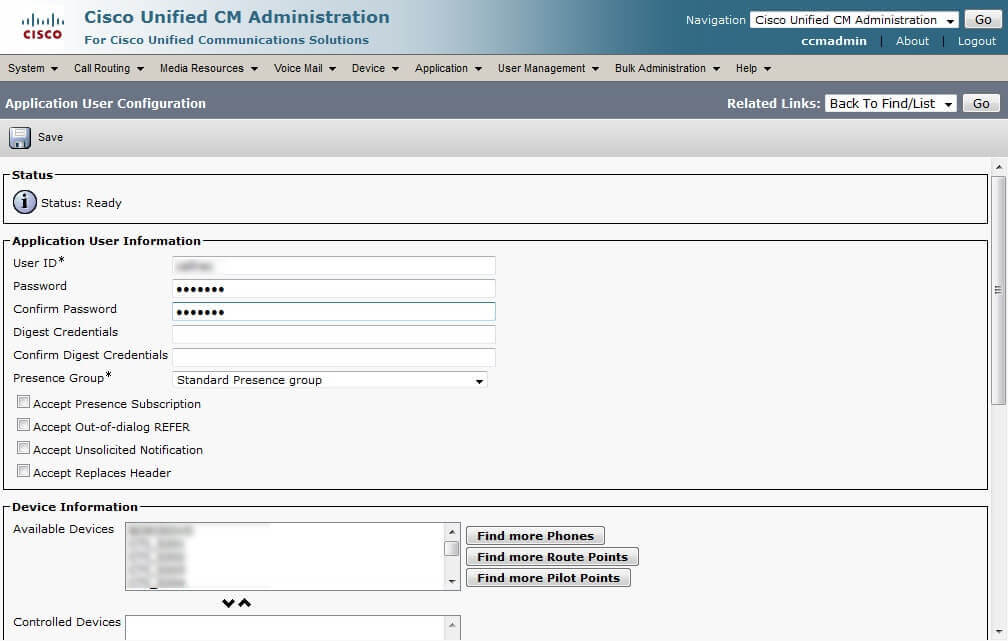
- Fill in the User ID
- Enter the user’s password in the Password field. Enter the same password in “Confirm Password”.
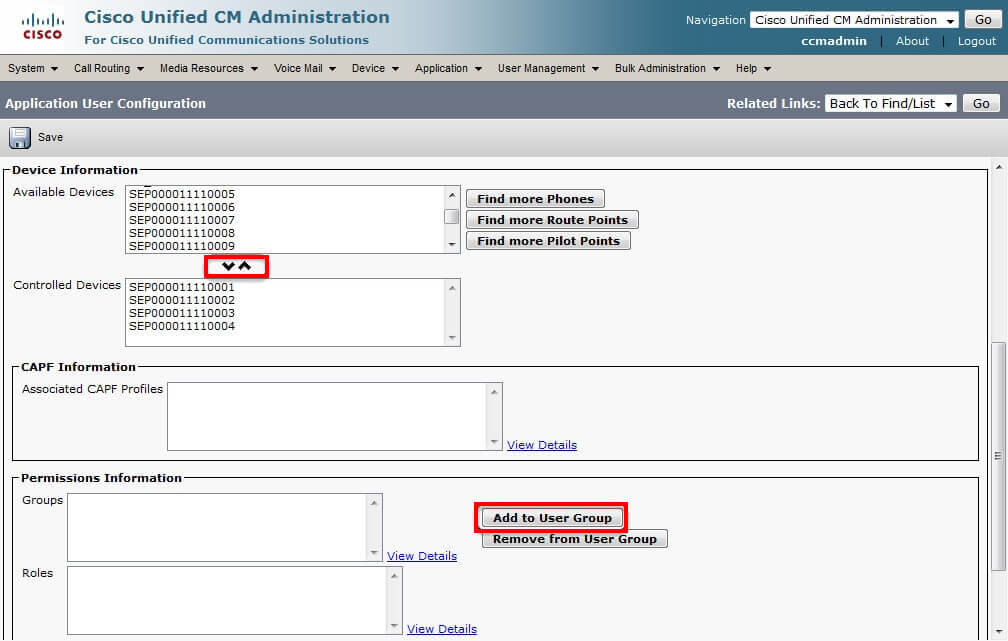
Select available devices to be added to Controlled Devices.
Click Add to User Group to add roles.
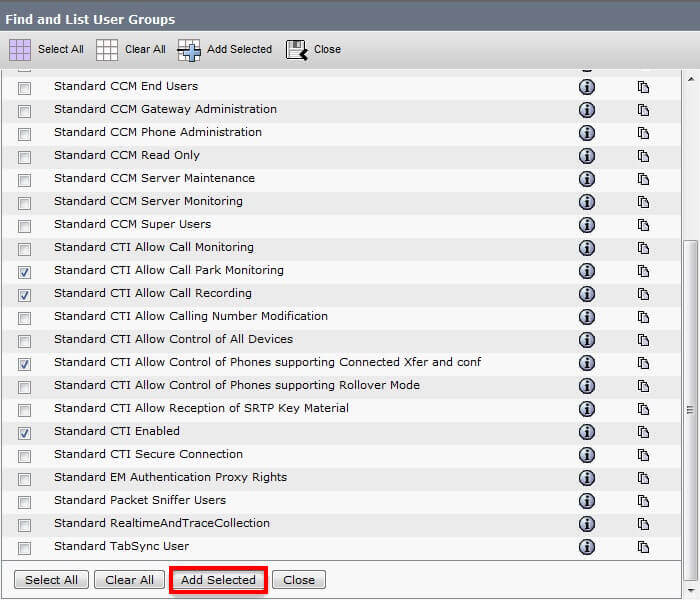
This application user should be able to control users in order to record their phones. Assign the following roles:
- Standard CTI Allow Park Monitoring
- Standard CTI Allow Call Recording Standard CTI Allow Control of Phones supporting Connected Xfer and conf
- Standard CTI Allow Control of Phones supporting Rollover Mode
- Standard CTI Enabled
Click Add Selected.
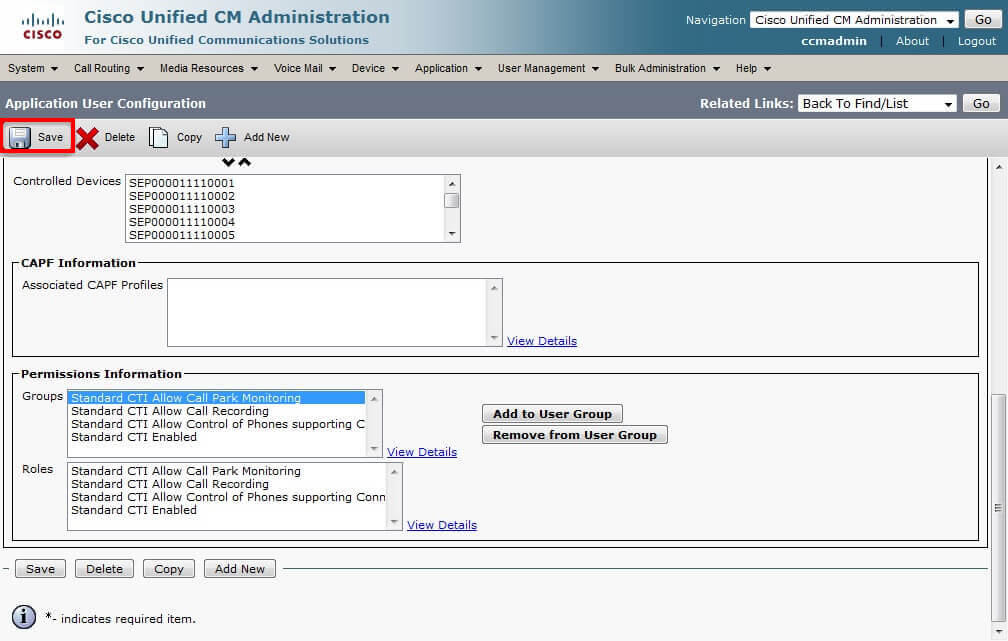
Click Save. The Application User configuration is over. Now let’s configure a SIP trunk.
Configuring a SIP trunk
Proceed to Device → Trunk.
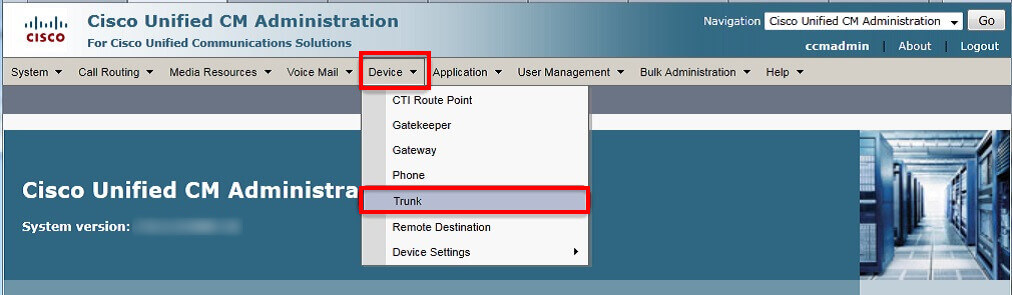
Then click Add New.
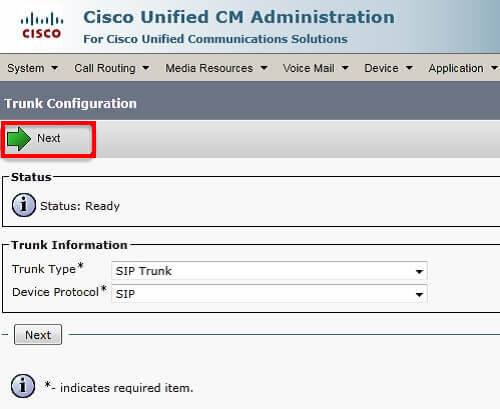
Set the Trunk Type = SIP trunk, Device Protocol = SIP.
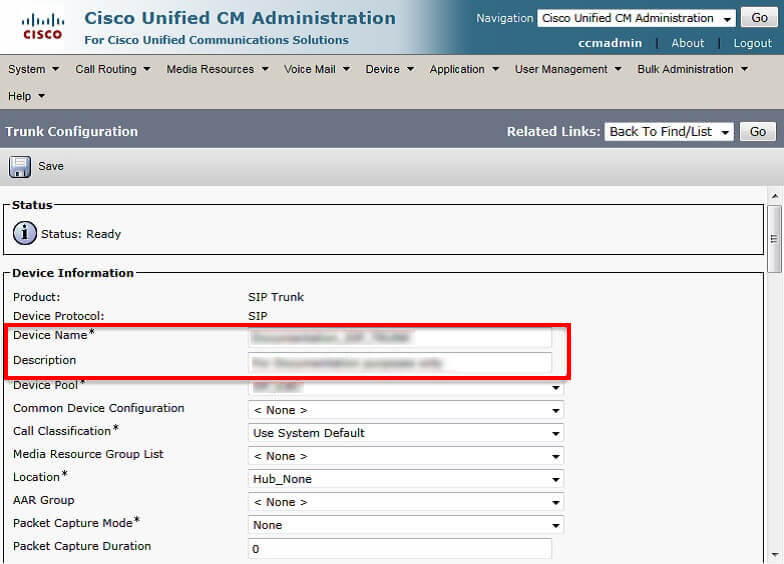
Enter the Device Name for the trunk, enter its Description, select a Device Pool (a set of common parameters), set SIP Trunk Security Profile to Non Secure SIP Trunk Profile, set the SIP Profile to Standard SIP Profile.
Now, you should configure a Route Pattern (a route to the trunk).
Configuring CUCM Route Pattern
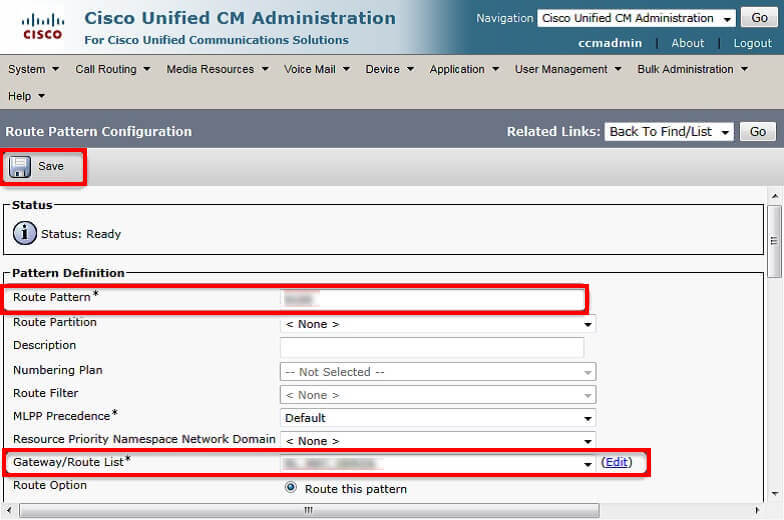
Enter a number that is not occupied in the dial plan. E.g. 1111. In the Gateway/Route List, select the trunk you have created.
Recording Profile
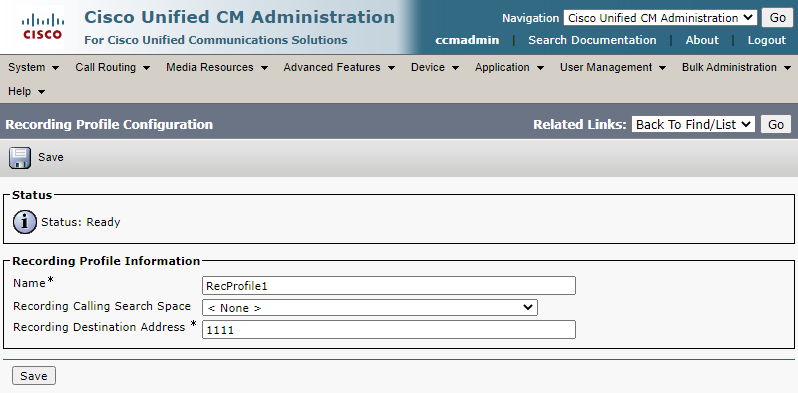
Proceed to Device → Device Setting → Recording Profile. Click Add New.
- Enter the name of the profile;
- Enter the number you have used for the Route Pattern configuration (in our case, that’s 1111).
Now you only have to configure recording for a phone line (turning on BiB), assign a Recording Profile to the phone, turn on Allow Control of Device from CTI option and set the Recording Option to Automatic Call Recording Enabled.