 This article is about routing in Cisco Unified Communications Manager (CUCM). Today’s topic is Time of the Day routing. This feature helps you to distribute calls depending on the time of day and day of the week. For example, you can forbid international calls during nonworking hours and on weekends, and reroute intercity calls to a different trunk for this time period.
Time of Day Routing can be used together with CSS, Partitions and routing technologies like Route Pattern and Route List/Route Group.
If you are going to use it with Partitions, specify the required time period in Time Schedule and link it to a partition. This partition will only be active during the specified time period. For the rest of the time it will stay invisible.
To manage routing depending on the time, create several Partitions and set their priority using the CSS list (the first partition on the list has the highest priority). Then create several Route Patterns and put them into different partitions.
Configuration
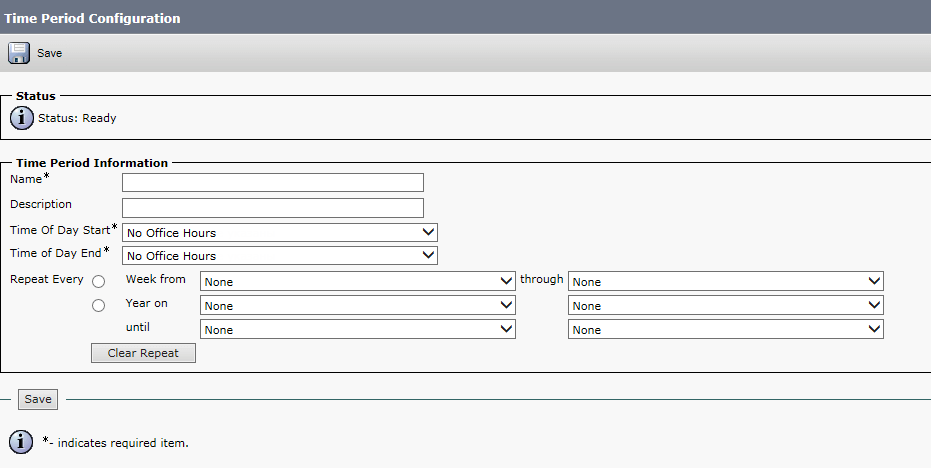
First of all, configure time periods. Proceed to Call Routing → Class of Control → Time Period and click Add New. Enter the name for your time period, start and end time, time zone and repetition parameters. Click Save.
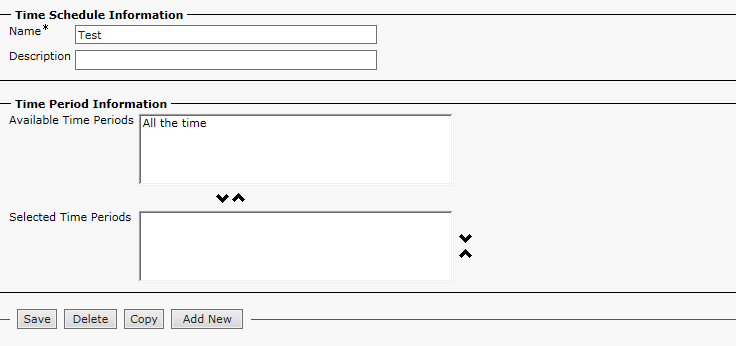
Now create a time schedule. Proceed to Call Routing → Class of Control → Time Schedule and click Add New. Fill out the Name field, click Save. Then the Time Period Information field will appear. Select the required time periods.
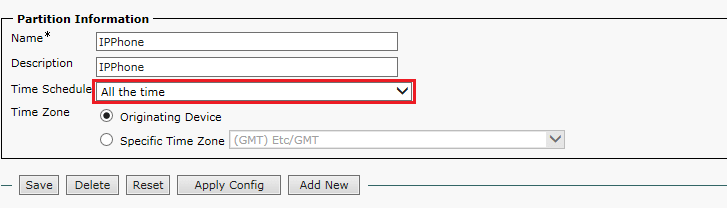
Now configure partitions. Proceed to Call Routing → Class of Control → Partition, select a partition to edit (or create a new one). Select the Time Schedule you have created.
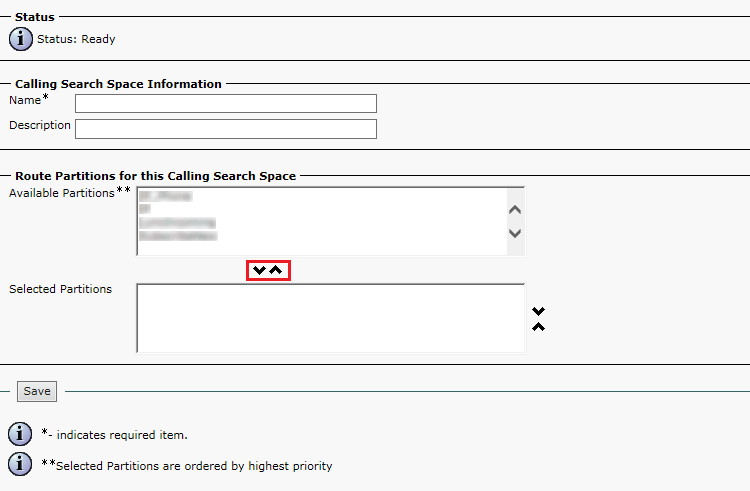
Proceed to Call Routing → Class of Control → Class of Control and move your partitions to a CSS. A partition’s priority depends on its position on the list.
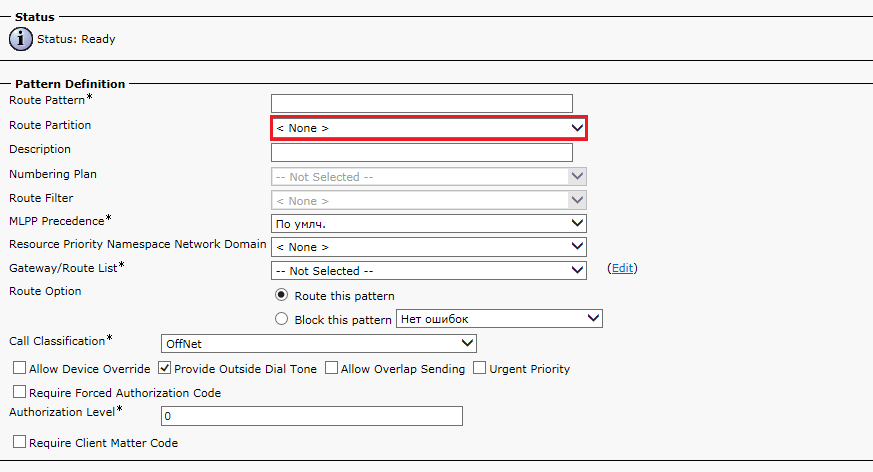
Then add partitions to Route Patterns that are located here: Call Routing → Route/Hunt → Route Pattern.
Now you can distribute calls in your system depending on the time.