
 Let me share the experience of moving from Unrestricted to Restricted CUCM version. The reasons for migrating were: a possibility to use Cisco Jabber to transfer files through MRA (Mobile and Remote Access), encryption and other security features, and also a solution for the double ringing signal problem during Cisco Jabber calls through MRA to PSTN. According to the compatibility matrix, this problem has arisen because Cisco Expressway were too new (12.6.1) for CUCM (11.0). By the way, CUCM was running in full-fledged production mode, so the migration was risky for business in terms of subsequent normal functioning. This was not an easy process, so having an experienced colleague nearby happened to be helpful.
Cisco doesn’t support rolling up backups from Unrestricted version to Restricted, and updating from Unrestricted to Restricted also isn’t an option, so you’ll have to perform a fresh installation from scratch.
The following entities should be created/deployed step-by-step:
Stage 1
1) DNS records:
A records: cucm01.example.com, cucm02.example.com, cups01.example.com, cups02.example.com
SRV records in internal DNS: _cisco-uds._tcp.example.com, _cuplogin._tcp.example.com
2) Deployment of the new virtual machines.

.

In our case, that have been 11.5 versions of the last CUCM and CUPS releases (2 nodes per cluster).
Note that if Alerting Names of your phone numbers are not in English, you have to install the required language locales, or the names won’t be shown during calls (within a cluster as well as between clusters).
Besides that, we have set the virtual disk to 120Gbytes instead of 80Gbytes to avoid potential problems with overfull partitions.
3) Sending certificate signing requests and uploading certificates to CUCMs and CUP servers.
Use two templates to issue certificates: Web Client and Web Server, or SIP trunks on port 5061 between the new cluster and other Cisco infrastructure won’t work.
4) Import the certificates from the old and new clusters to each other.
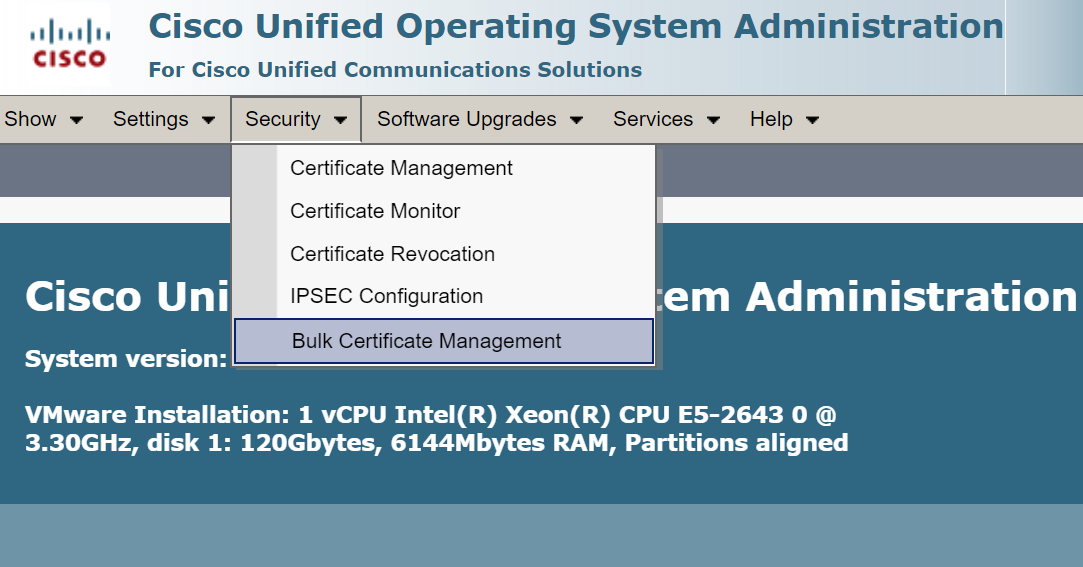
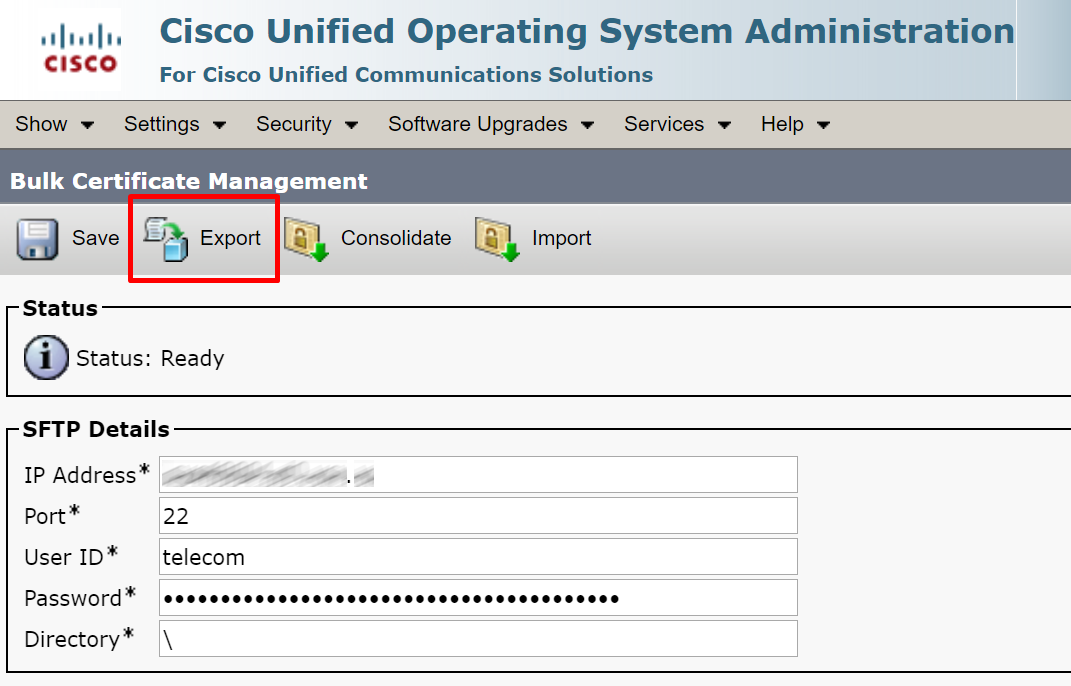
a. On each cluster, configure SFTP server to import/export certificates.
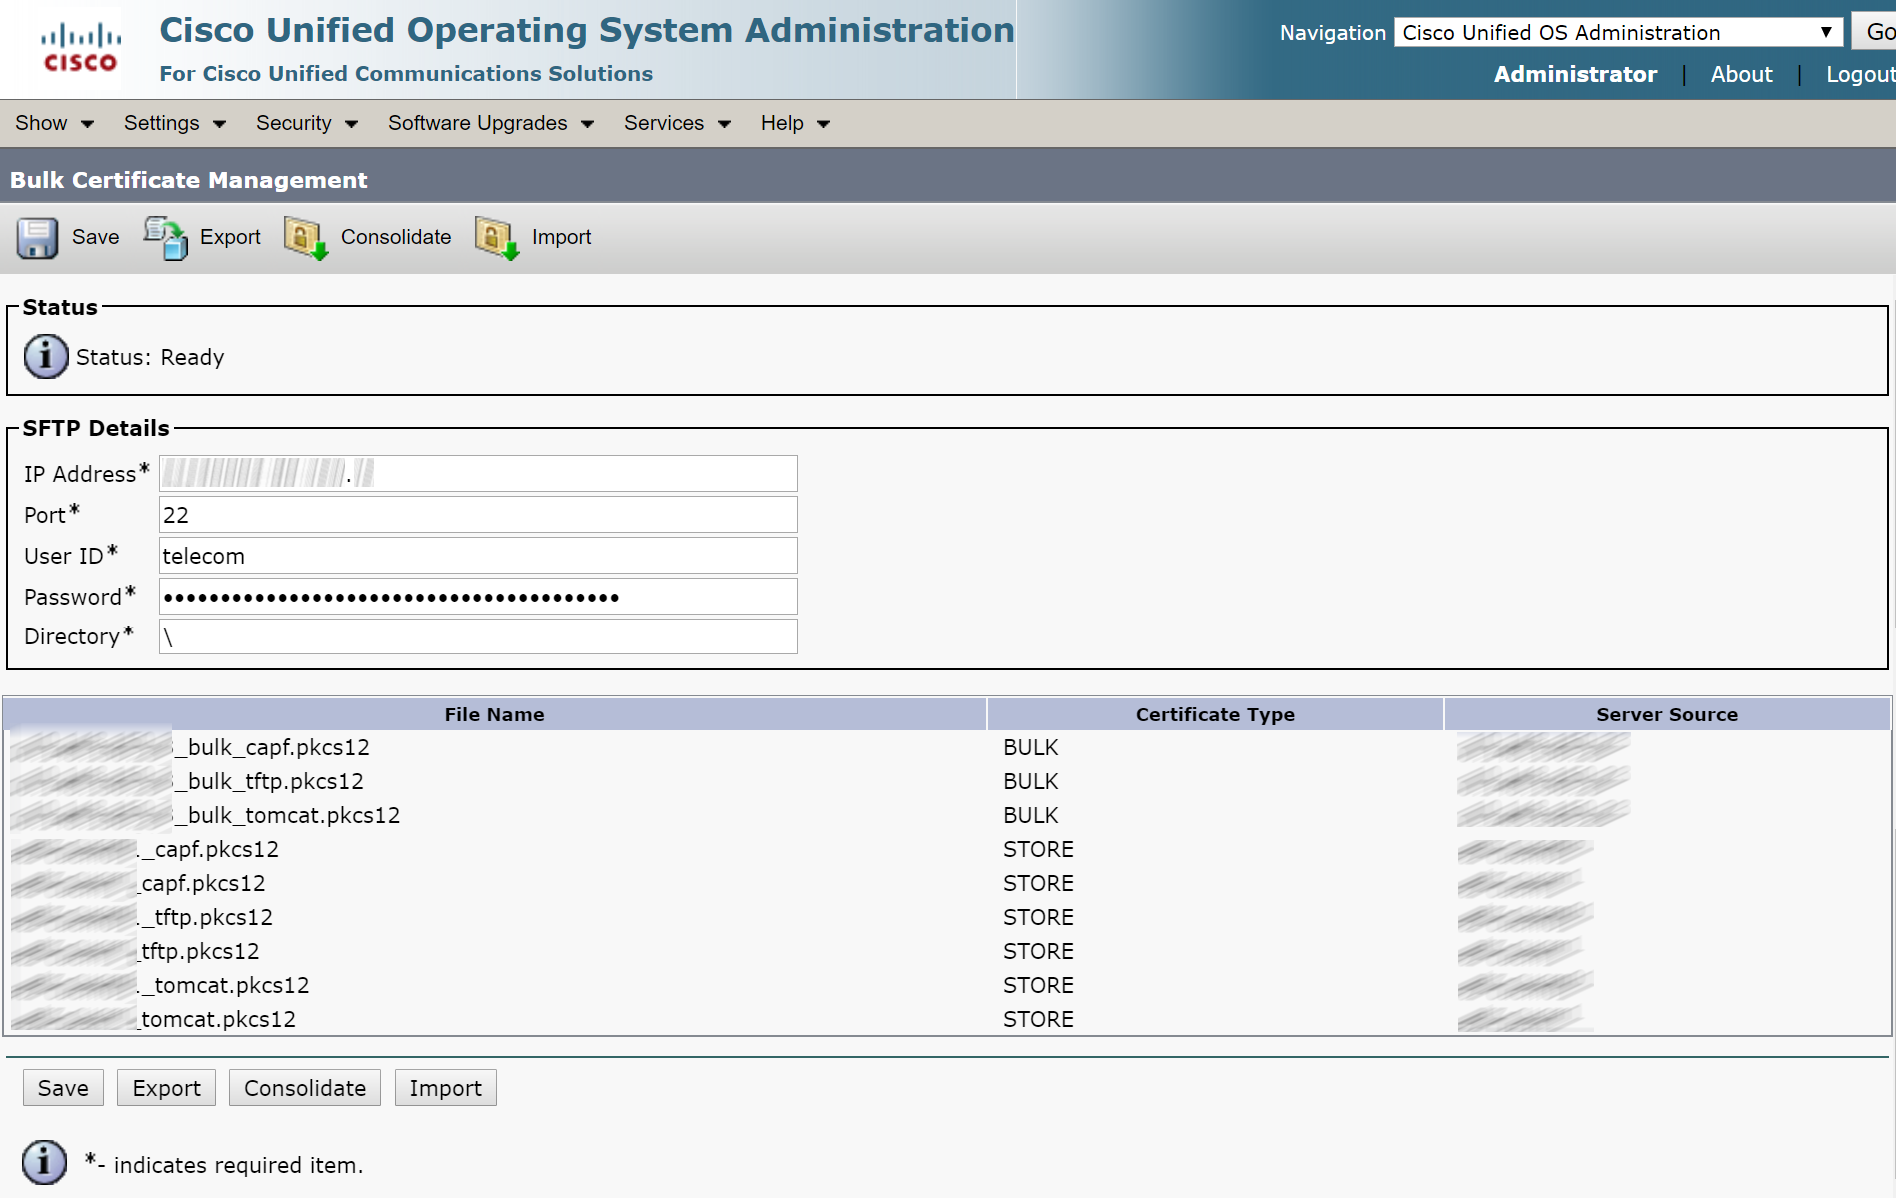
b. On each cluster, export all certificates.
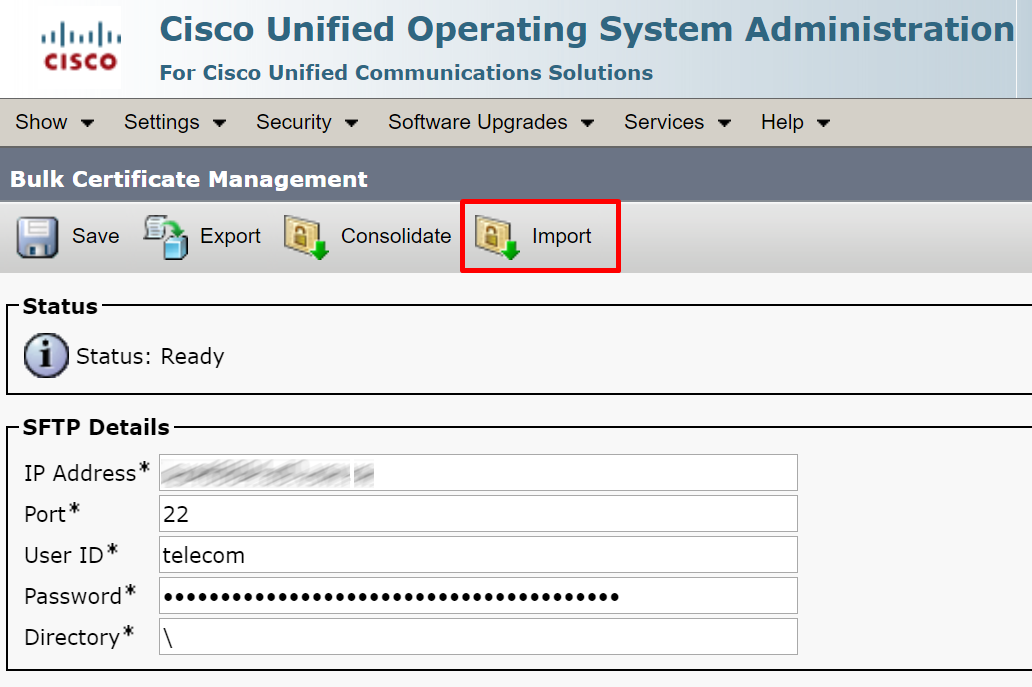
c. On each cluster, import all certificates.
d. Click Consolidate.
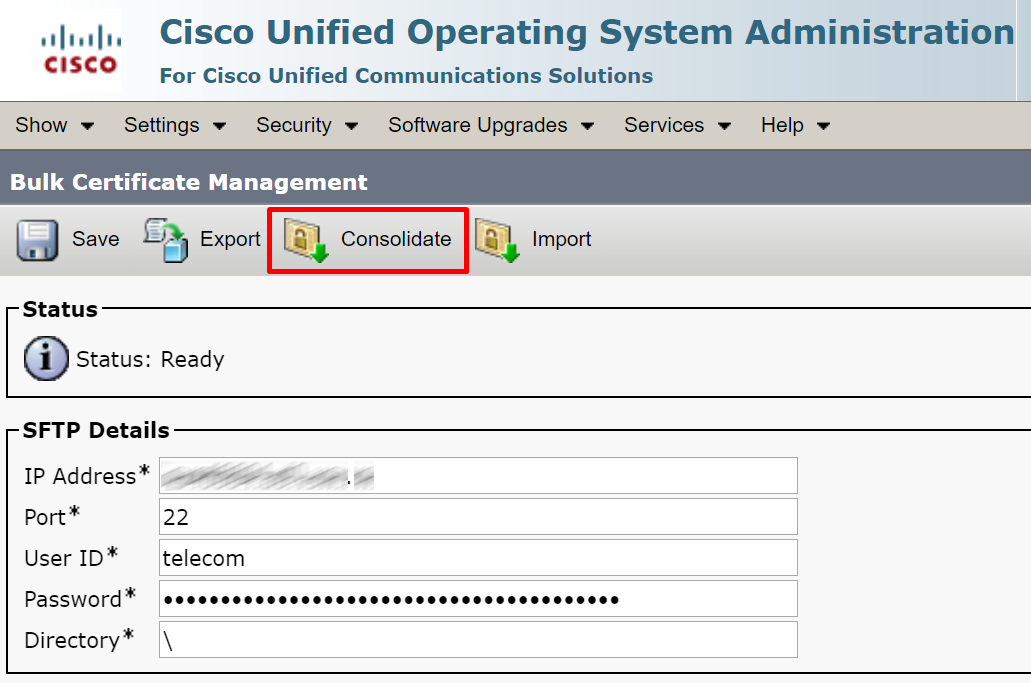
e. Make sure both clusters’ certificates are in Trust List.
f. Restart Cisco Tomcat service on each cluster.
Stage 2
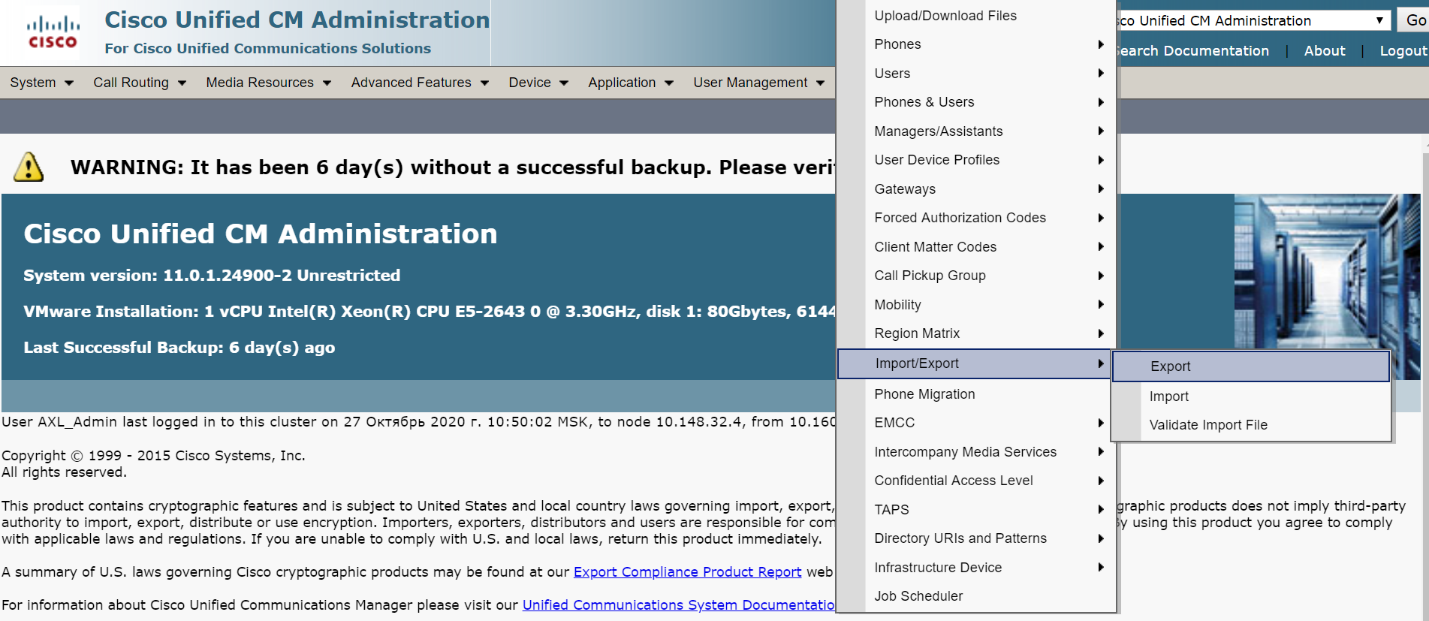
Export settings and configurations from old CUCM and CUPS servers.
1. Export all cluster settings except Advanced Features section and Enterprise Parameters, Server, Cisco Unified Communications Manager, Cisco Unified Communications Manager Group and Service Parameters.
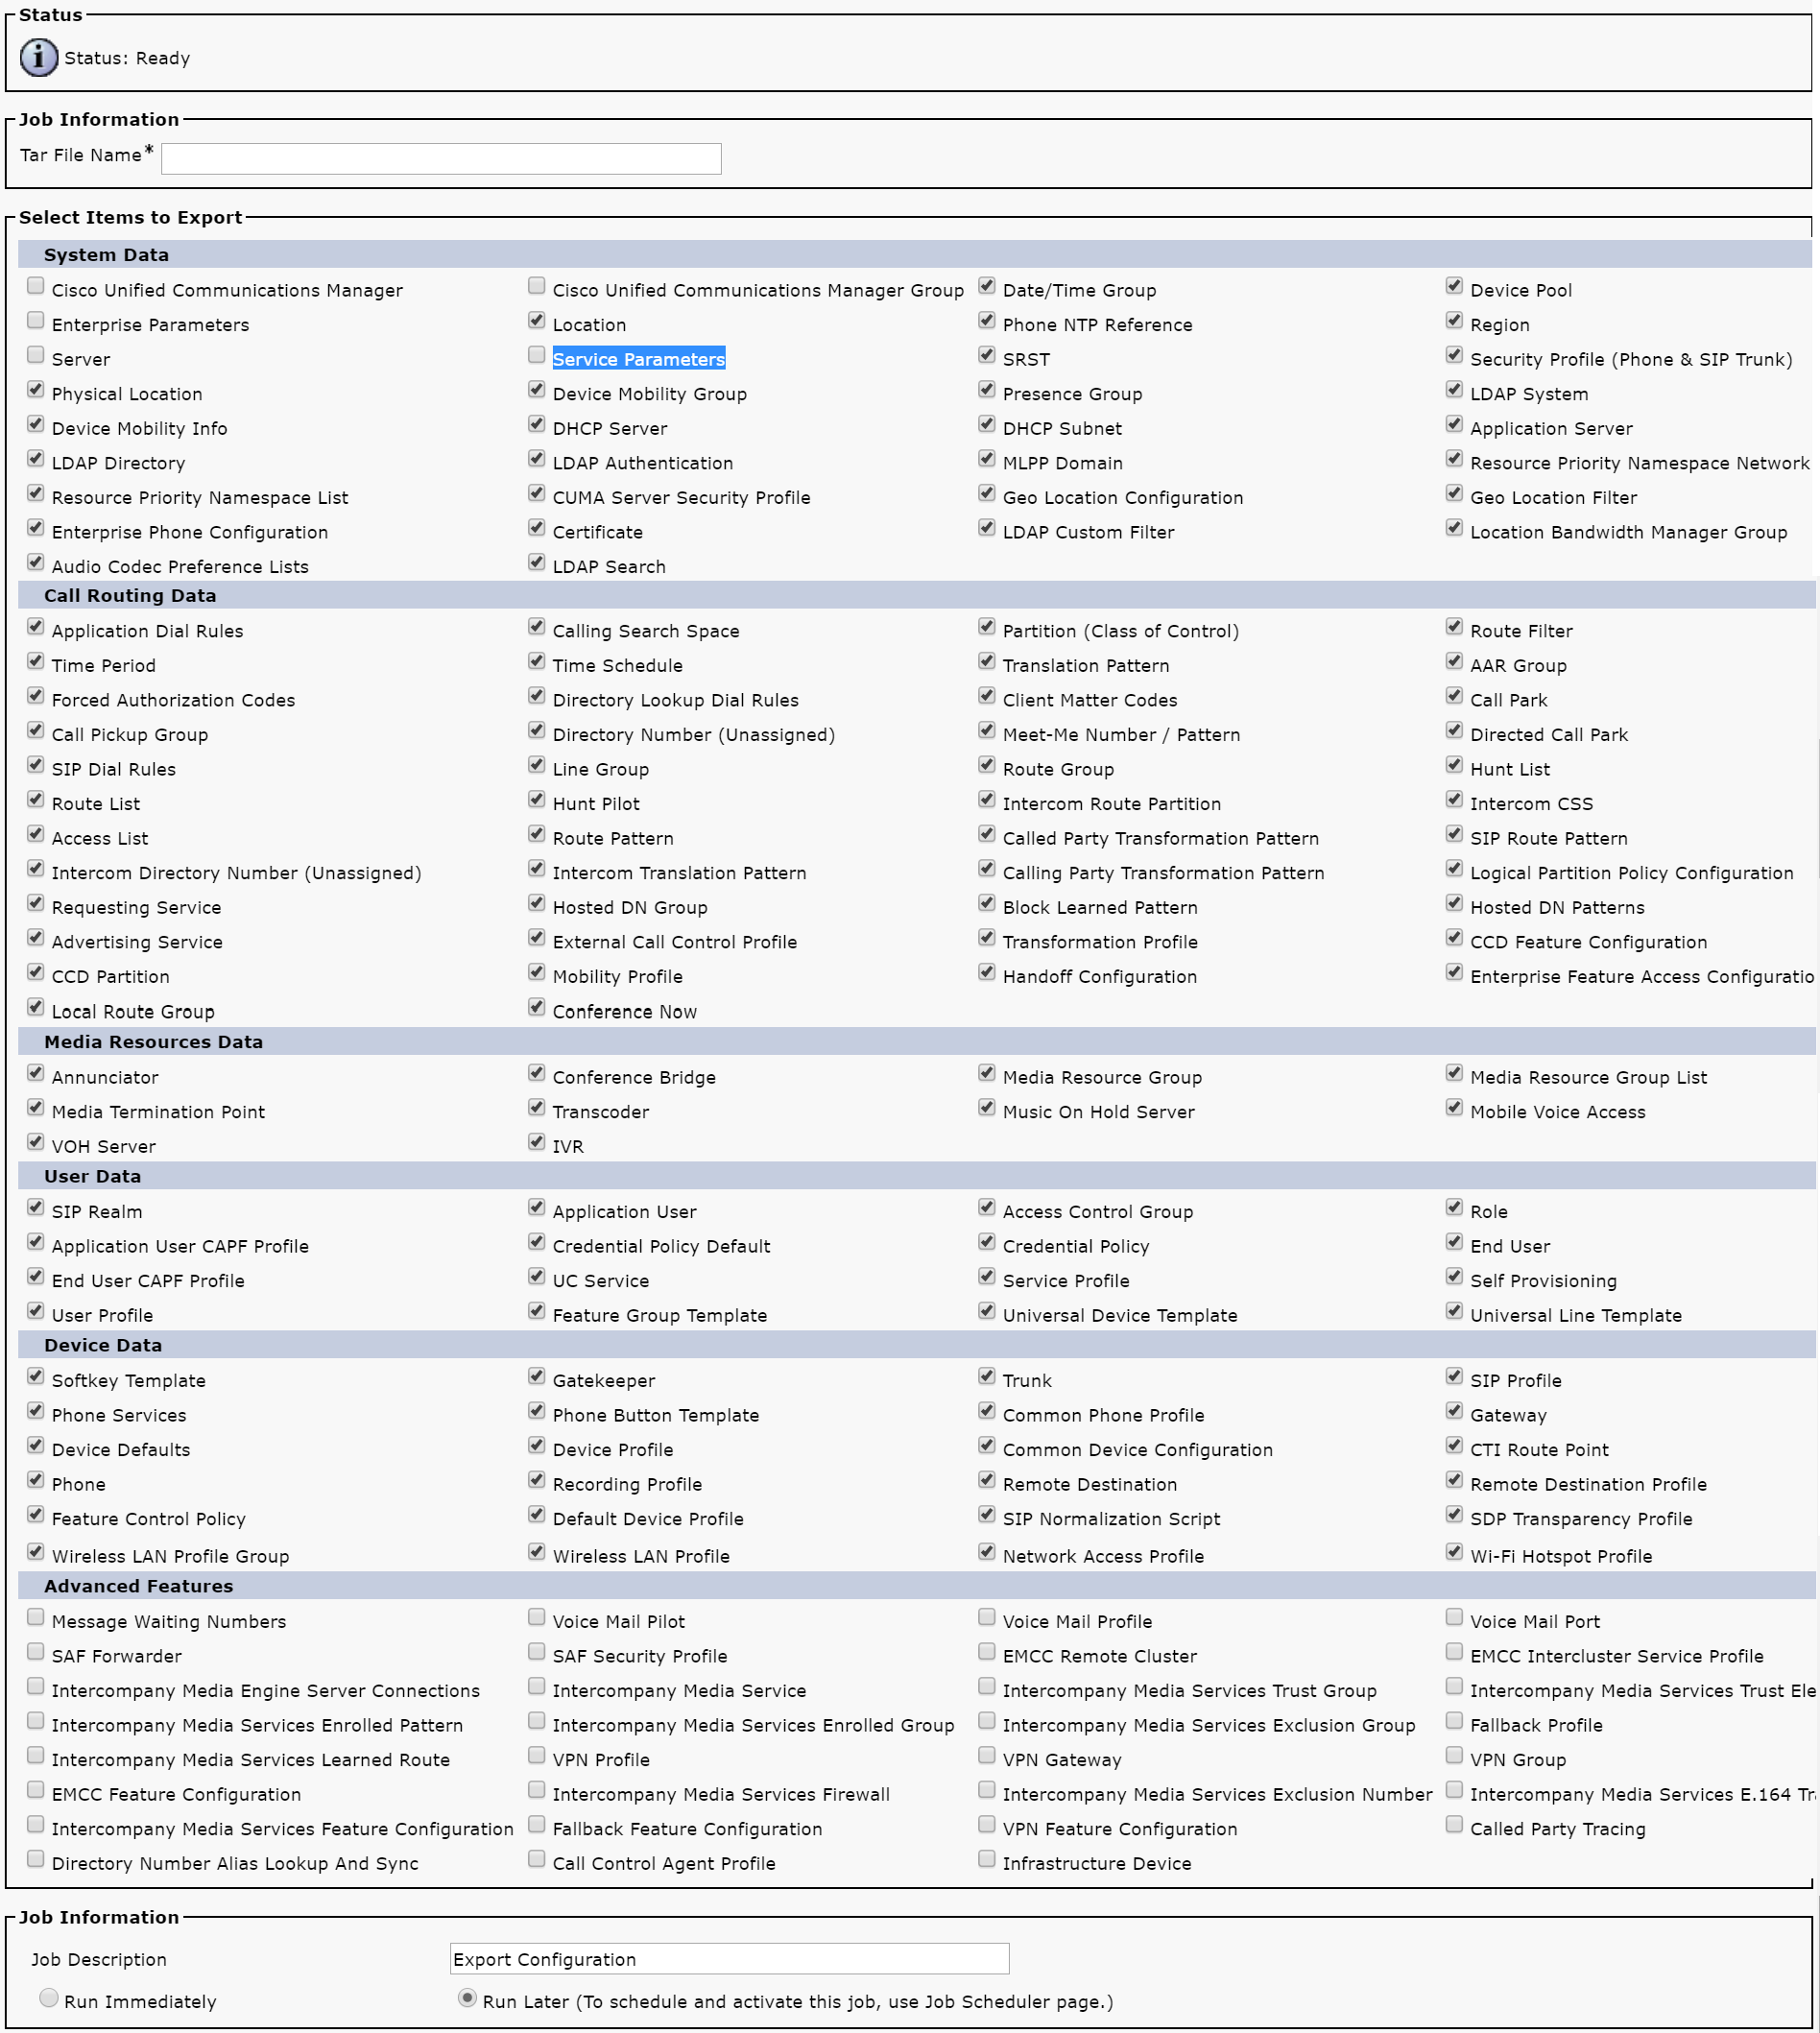
Download the generated file.
We are migrating a production server, so, even if we copy those settings as well, we’ll get a conflict with ILS, since the same users will have a home cluster. We also don’t need some parameters to be set to the old cluster’s values.
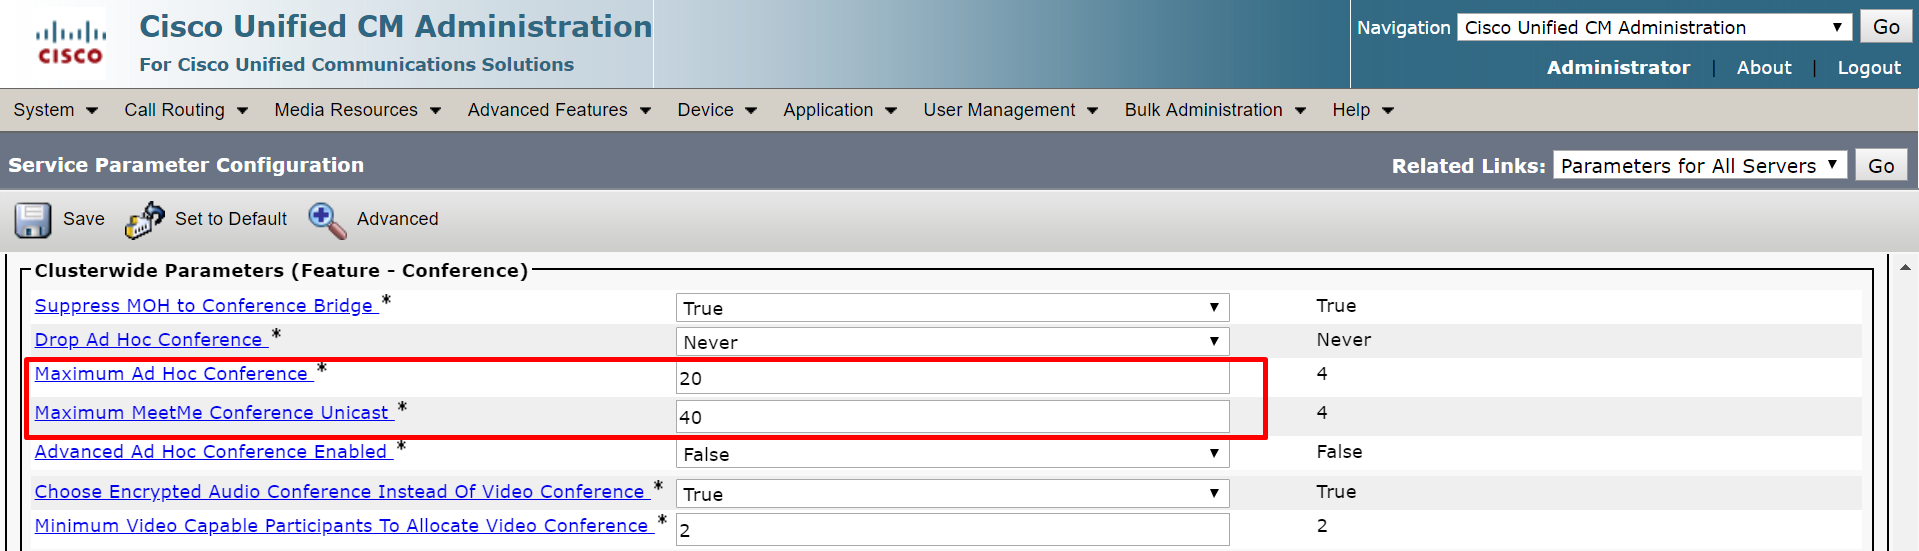
We highly recommend checking the values of Ad Hoc and Meetme conference participant numbers.
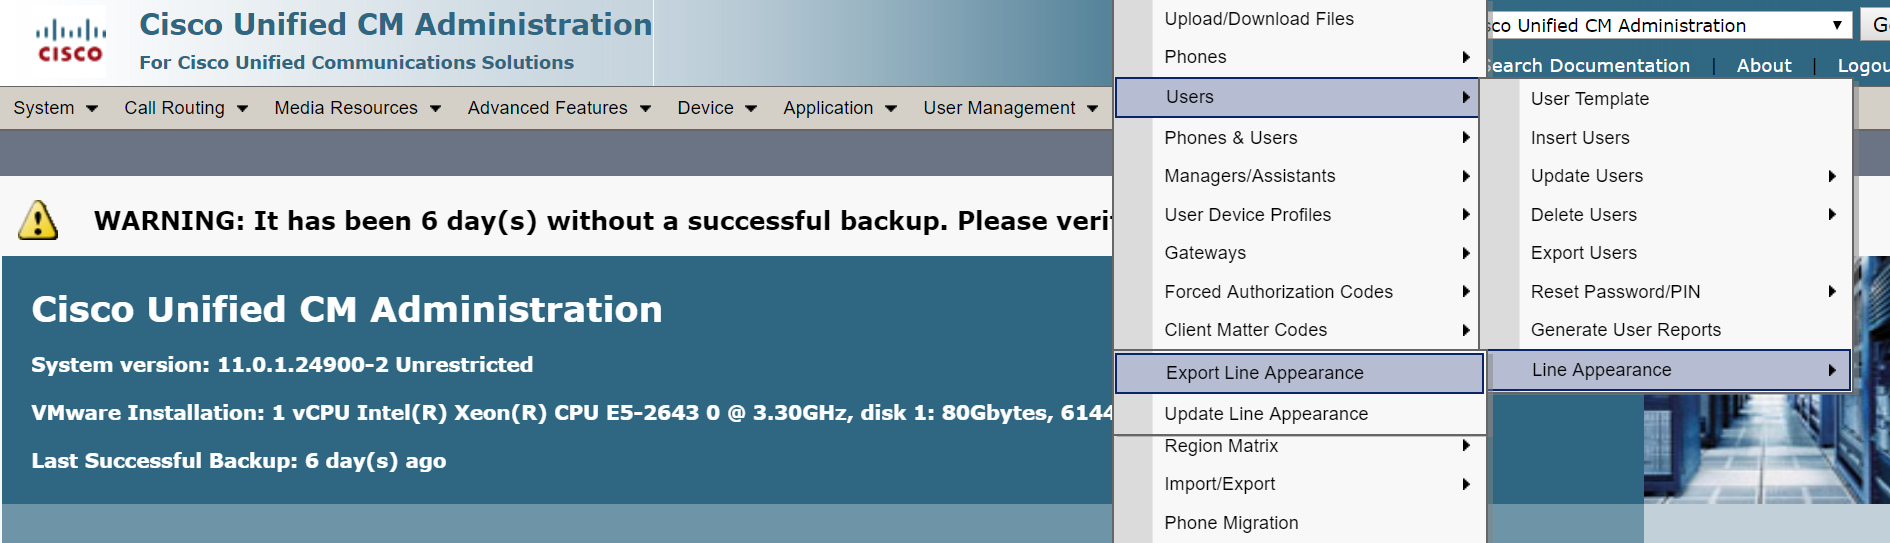
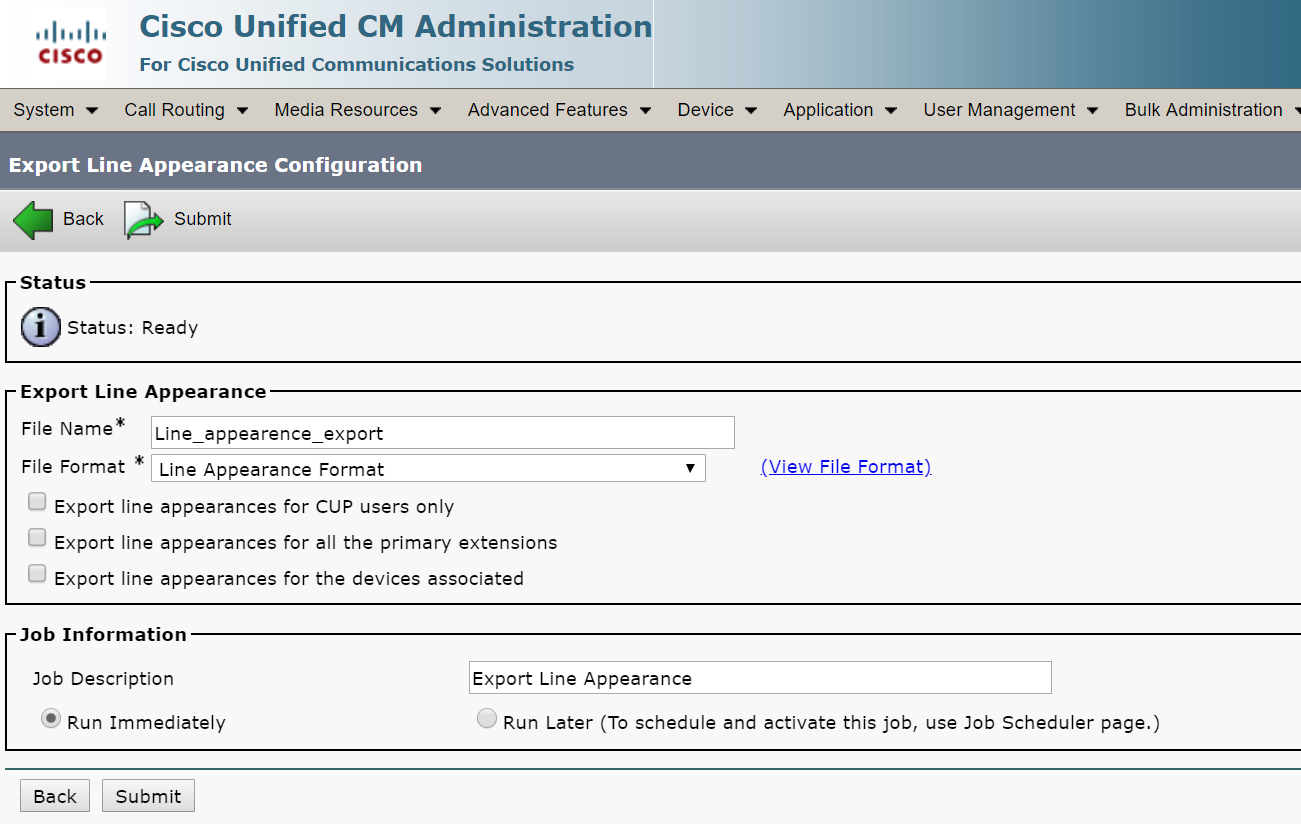
2. Export Line Appearance.
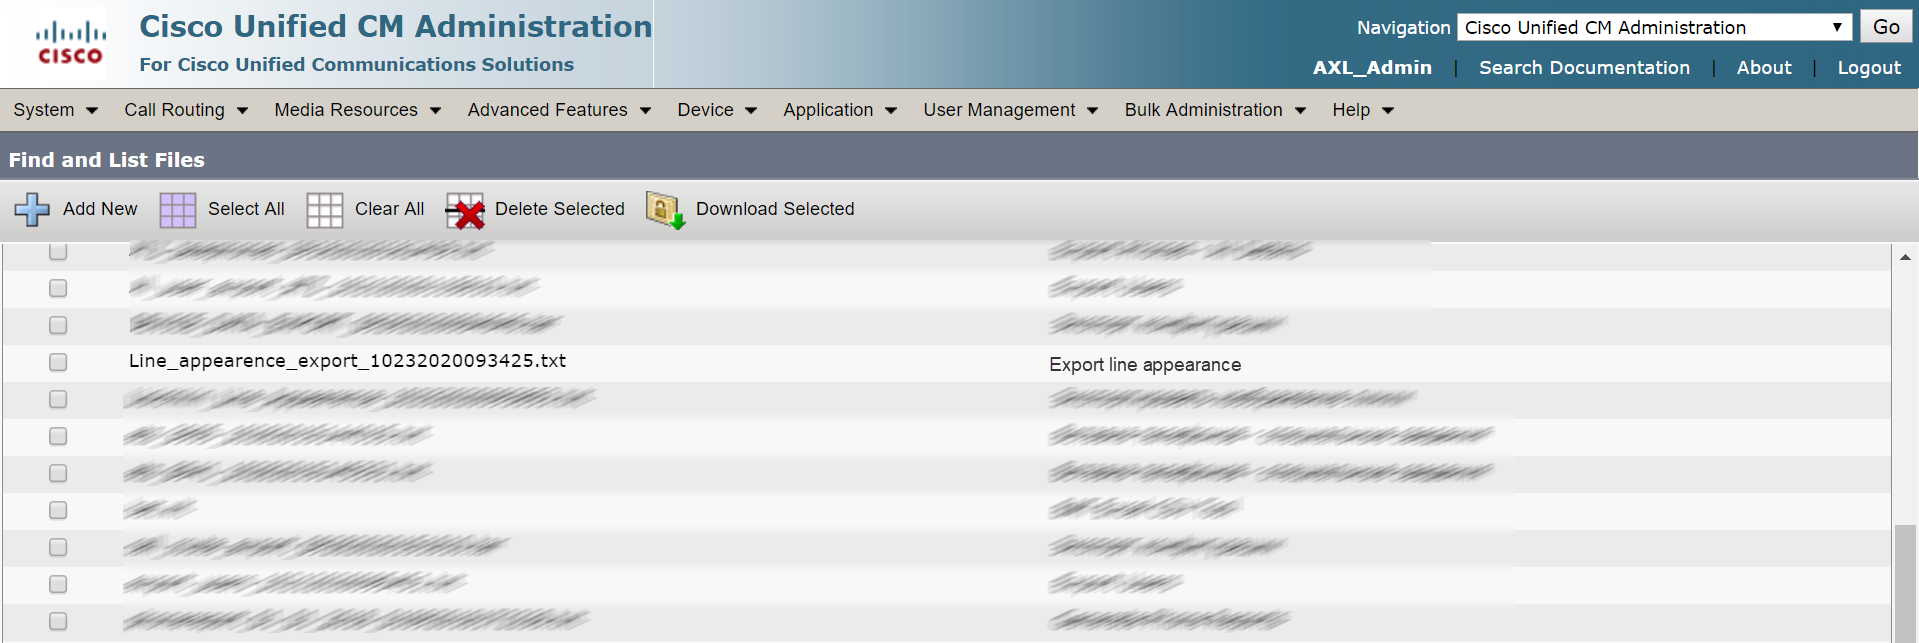
Download the file we’ve generated.
Line appearance is responsible for user statuses (On call, on meeting, etc). All users well be “offline” in jabber unless you import these settings.
3. Export contact lists from CUPS.
Users’ own contact lists are stored on CUPS. They should be exported/imported separately, since users’ jabbers are being moved.
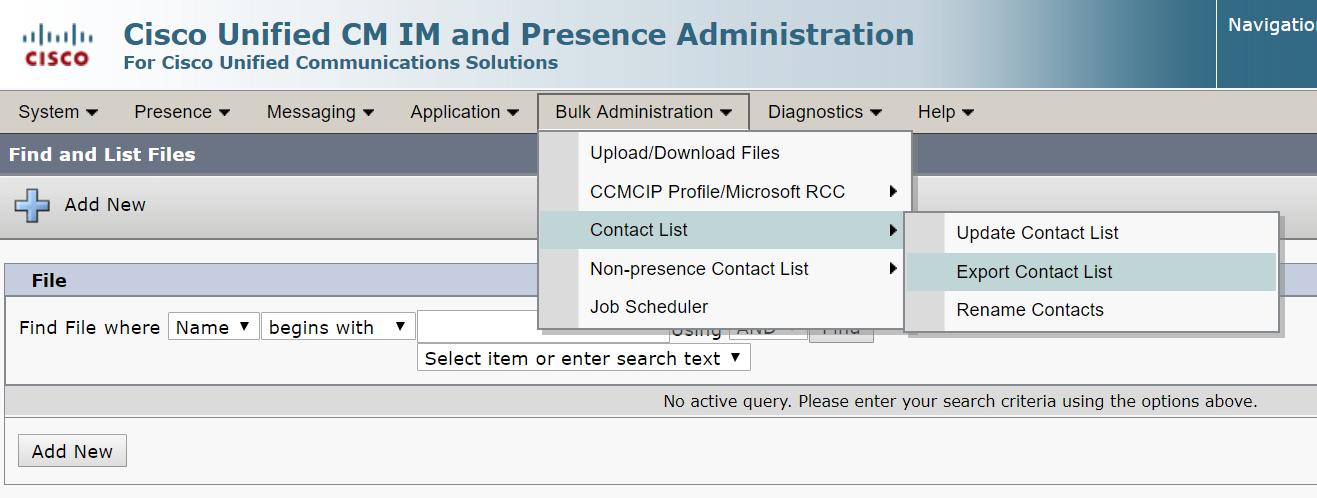
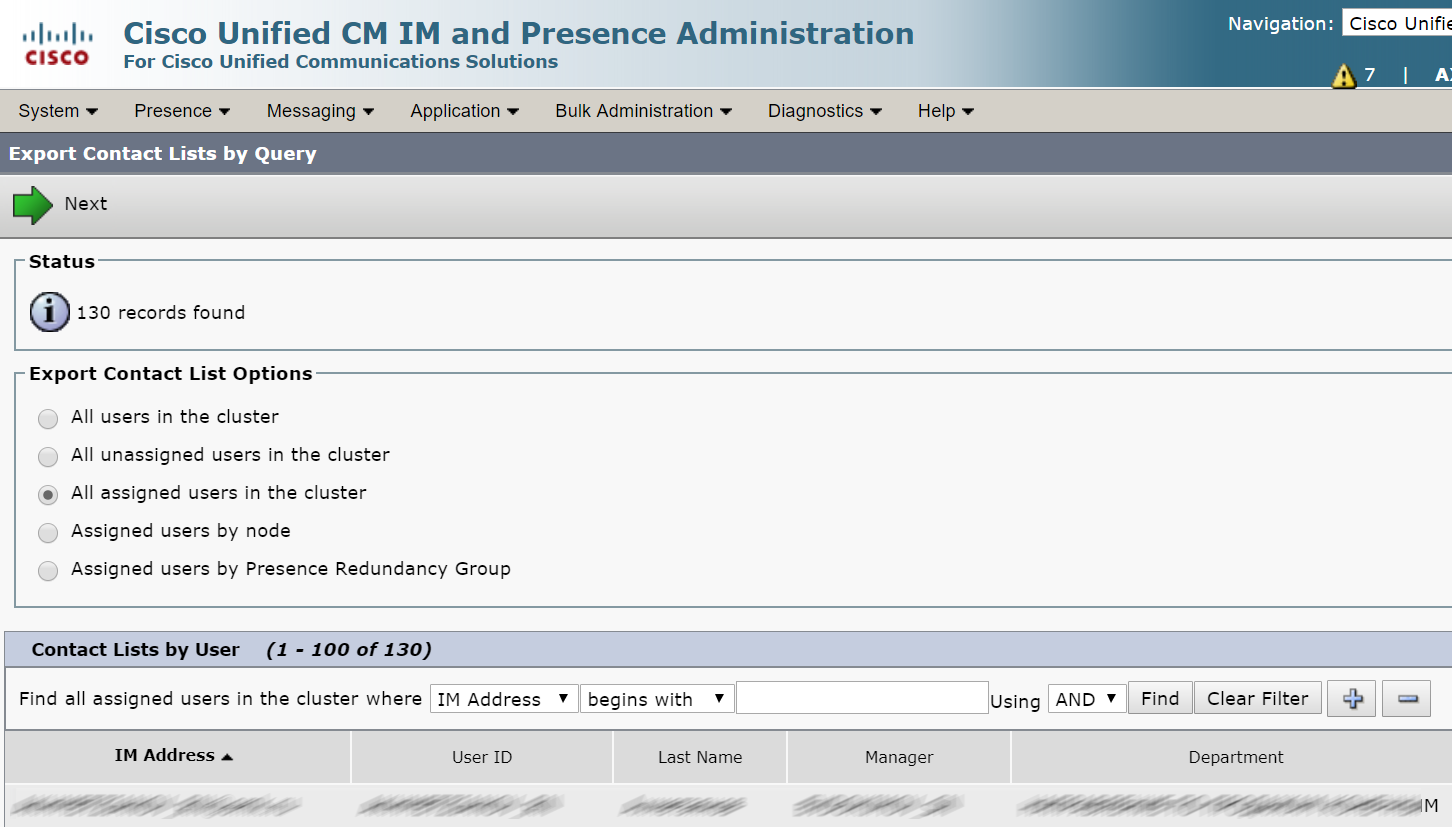
Chose "all assigned users in the cluster".
Note that the contact list file formats are slightly different, State field has been added in new CUCM.
Old format:

New format:
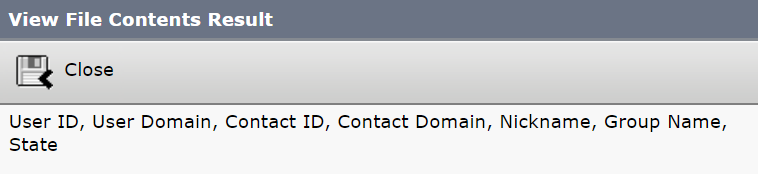
You should edit the downloaded file (for instance, in MS Excel). Add State column and fill it with “1” values, or this contact list won’t be imported.
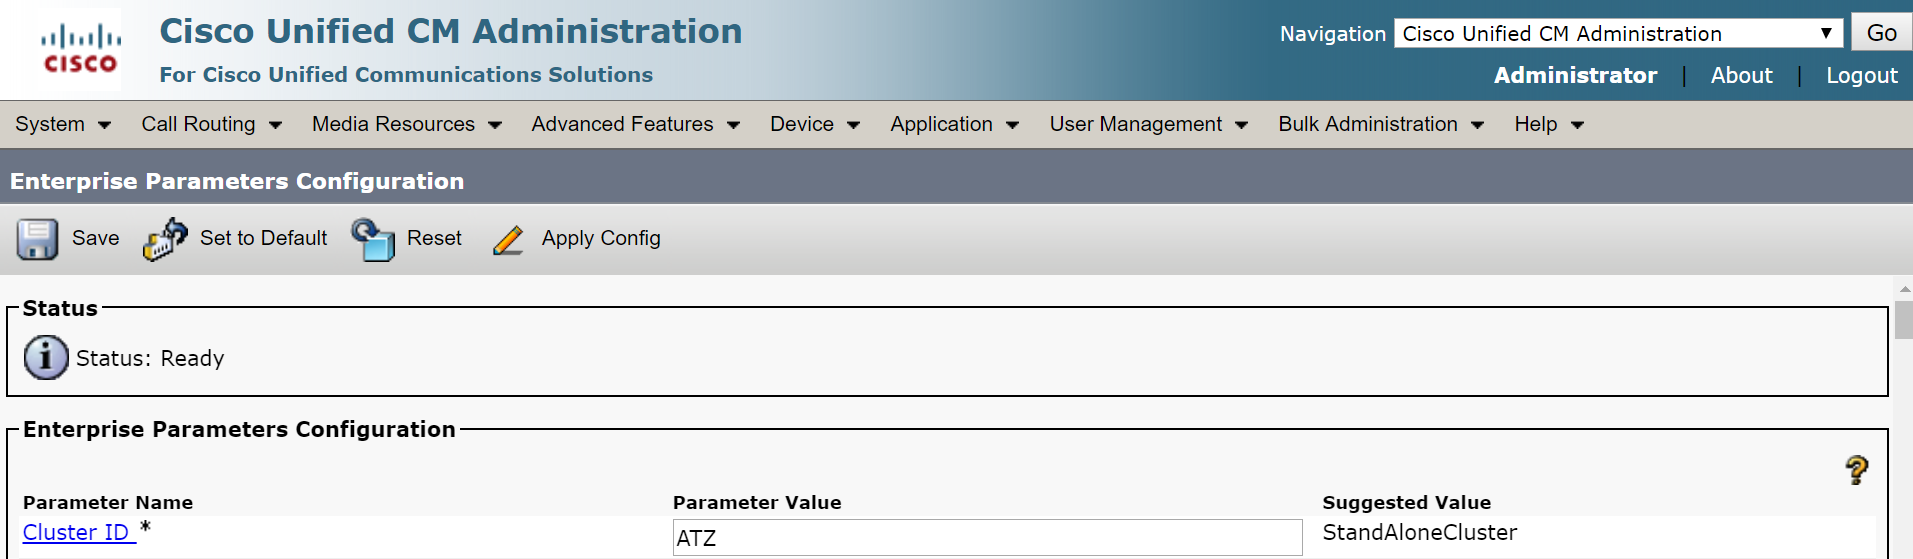
4. On the new CUCM cluster, set a cluster name that’s different from the old one.
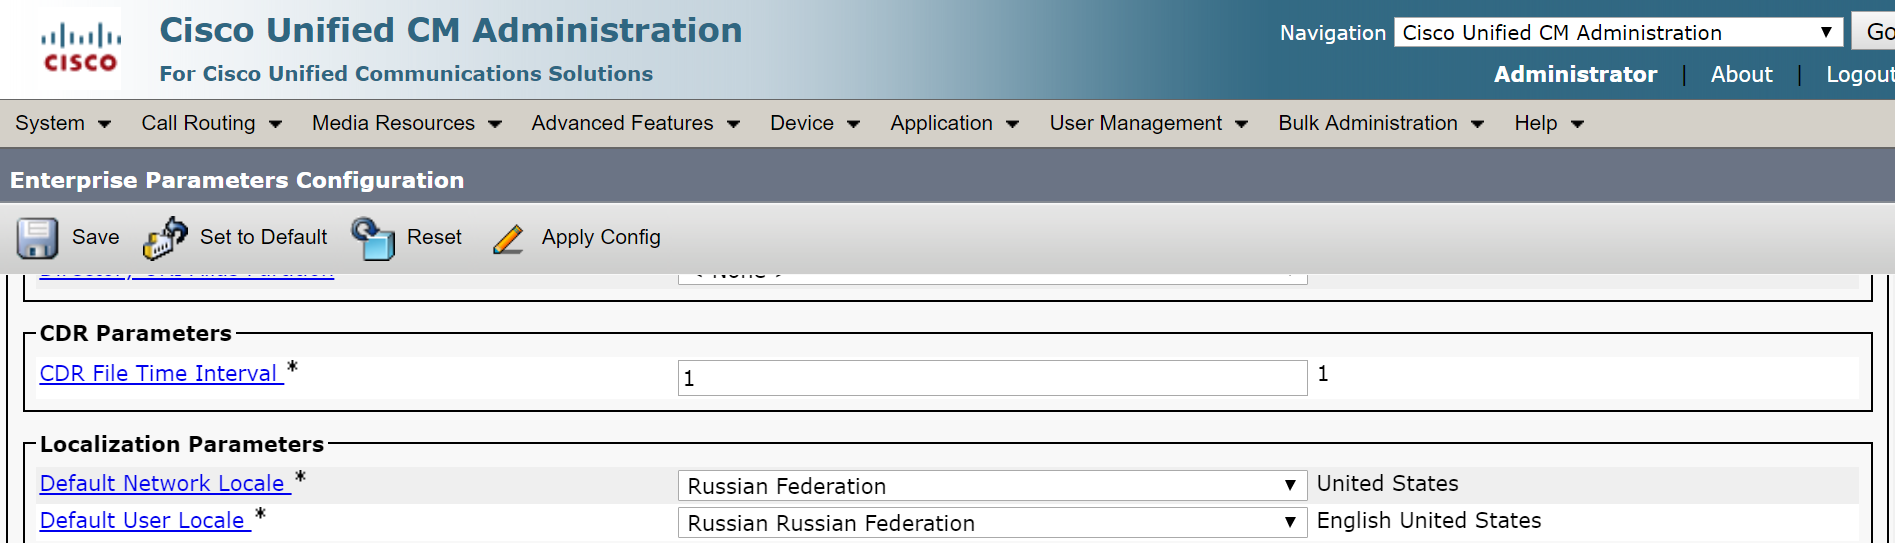
5. If needed, change localization parameters in Enterprise Parameters.
6. On the new IMP cluster, change domain and scheme (if they are different), make InterCluster settings same as the old ones.
7. Download jabber-config.xml from the old cluster and upload it to the new one. Restart Cisco TFTP service. (If you are migrating to version 12.5 or higher, this is not necessary, you can configure this file in UC service and link it to Service Profile).
Stage 3
The third stage is highly recommended to be performed outside office hours, so users won’t lose their connection to telephony services.
1. Import everything you’ve exported during the second stage.
2. Remove the old UCM and IMP nodes from Expressways.
3. Disconnect the old CUCM cluster (or change its mode to standalone if Disconnect doesn’t work for some reason) in ILS Configuration section.
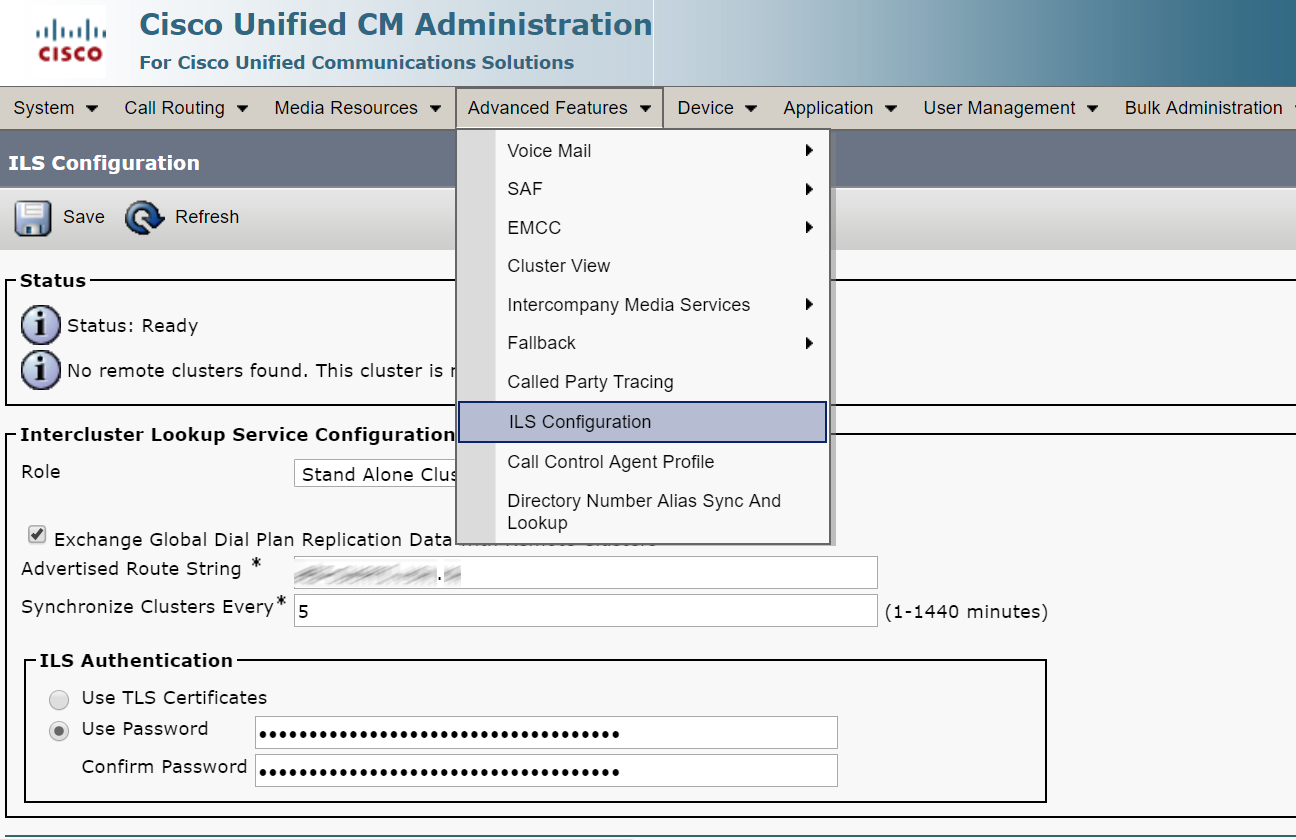
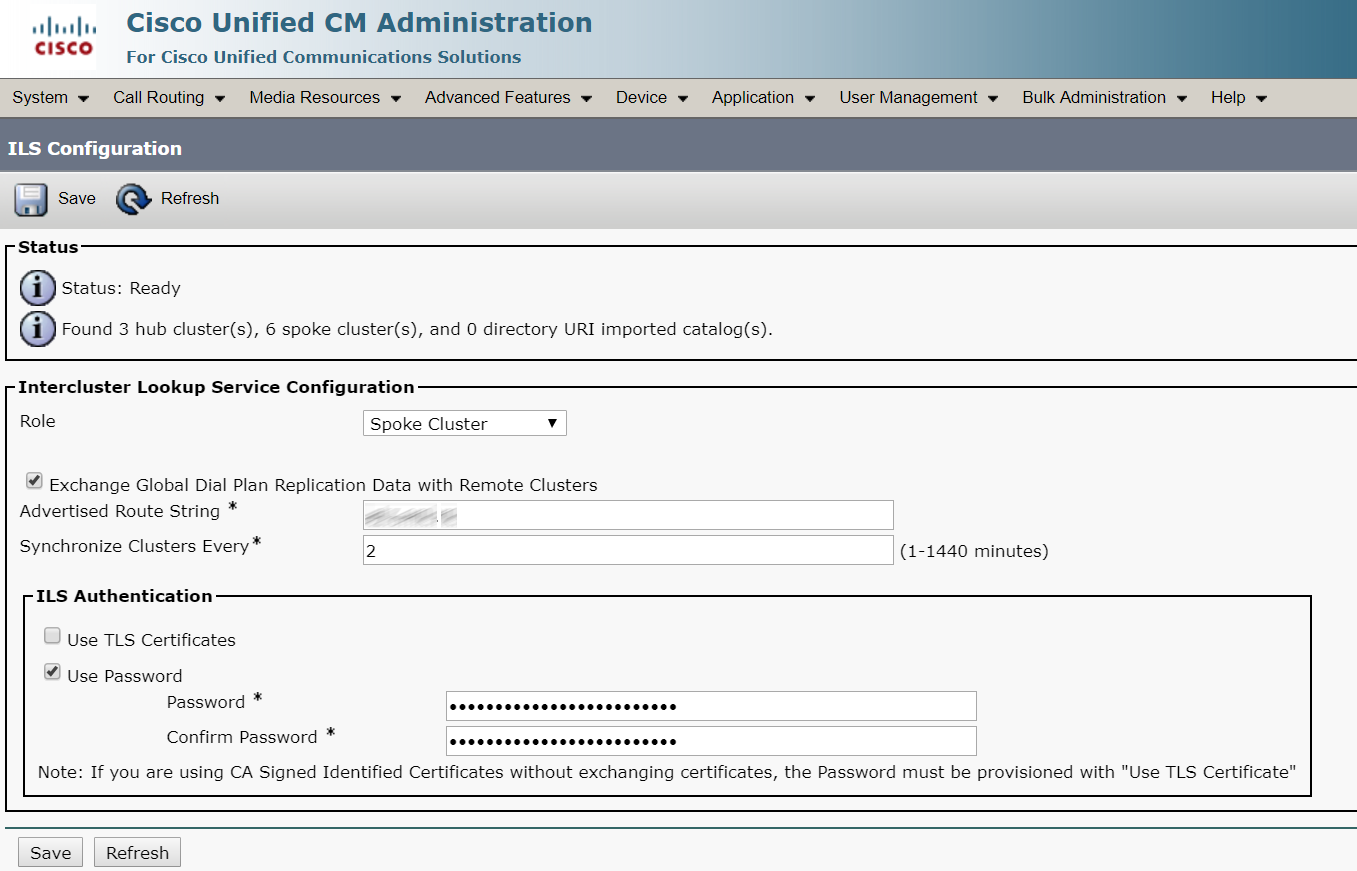
4. Configure ILS on the new CUCM cluster.
5. Remove the old CUCM cluster from PLM, add the new CUCM cluster.
6. Change option 150 (or 66, depending on your configuration) on DHCP server to the new CUCM cluster IP address, then Reset and Restart all phones from old cluster. They must register with the new CUCM cluster.
7. On Expressway, add the new UCM and IMP clusters.
8. Edit trunks to other PBXs, replacing the cluster IP addresses.
That’s it!
This article is a translation of a guide originally created by S. Dubinin, Telecommunications Specialist - https://habr.com/ru/post/524772/
Lets talk.