Yes, CUCM can collect CDR (Call Detail Record). This article will show you how to enable this feature (disabled by default).
Enabling CDR
Open Cisco Unified CM Administration interface:

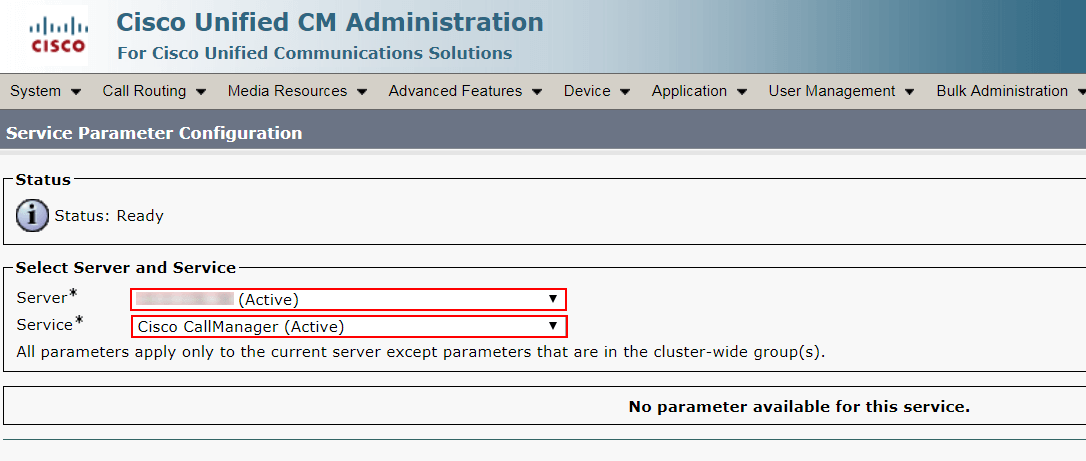
Proceed to System → Service Parameters and select the following parameters:
- Server — select the node to be manipulated,
- Service — select Cisco CallManager (Active).

In the Parameters section that appears, find System and select:
- CDR Enabled Flag * — True. This parameter indicates the call manager to create and store CDR records for each call passing through this UCM;
- CDR Log Calls with Zero Duration Flag * — True. Enabling this parameter makes the server save the unsuccessful calls and calls that were shorter than 1 second (helpful for troubleshooting).

Don’t forget to apply the changes. Repeat this actions for each node in a cluster (if you have more than one server in System → Service Parameters → Server menu).
Additional configuration
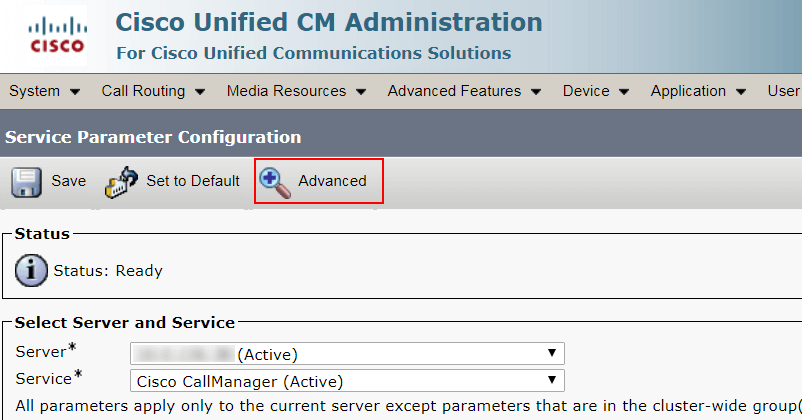
Now let’s explore advanced parameters. On the configuration toolbar, click Advanced:

Select the following options:
- Call Diagnostics Enabled – Enabled Only When CDR Enabled Flag is True. This parameter switches on so-called Call Management Records (CMR), which are very helpful for troubleshooting;
- Display FAC in CDR – True. This parameter indicates whether Forced Authorization Code (FAC) should be displayed in CDR. Generally, this parameter depends on your security policies. We chose to display it;
- Show Line Group Member DN in finalCalledPartyNumber CDR Field – True. Briefly, this parameter shows DN (directory number) of the group member that answered a call, instead of the group’s number;
- Show Line Group Member Non Masked DN in finalCalledPartyNumber CDR Field – basically, the same as the previous one.


Open Cisco Unified Serviceability page, proceed to Tools → CDR Analysis and Reporting section. Now you can select CDR tab to use Search or export the data. Enjoy!

Lets talk.


