
The first part covers network settings, CMS License and Certificates, Call Bridge, Web admin, XMPP, Web Bridge.
This article is about CMS (Cisco Meeting Server) and its integration with CUCM (Cisco Unified Communications Manager).
Suppose that CMS and CUCM have already been deployed on virtual machines.
Before the configuration, make the following preparations:
- Create a DNS record for CMS IP address with an alias to be used by end users. For example:
meetingserver.example.com - XMPP Domain Name: the name that will be used to log in to Cisco Meeting App. In our case, it will be the user’s sAMAccountName, imported from Active Directory.
- To support Cisco Meeting App users, add a DNS SRV record for XMPP domain name. SRV record for _xmpp-client._tcp.<xmpp domain> needs TCP port 5222.
- Note: you don’t need this if you use the desktop application only.
SIP domain for the meeting server.
Suppose you are using a sub-domen, for example, meet.example.com.
IP address, mask, gateway, DNS, NTP, new user
First of all, enter the valid IP address of your service (CMS has several interfaces, select the first one: "a";).

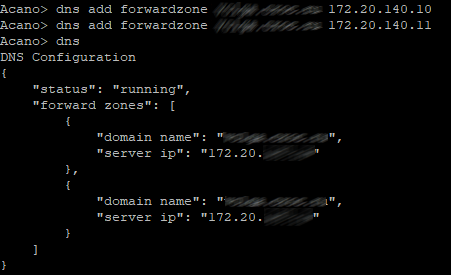
Add DNS addresses for your zone (if needed). Use "dns" command to check the configuration.
Set CMS hostname and reboot.

It’s recommended to create separate administrator accounts for safety purposes. «Admin» account is not safe enough. Besides that, it’s recommended to have 2 administrator accounts in case you lose one of the administrator passwords. In this situation, you’ll still be able to log in as the second administrator and reset the lost password.
Username: «root», role: «admin».

Getting ahead of it, create another user with role "appadmin", so CUCM will be able to configure CMS on application level via Web Admin interface (i.e. for Conference Bridge registration).

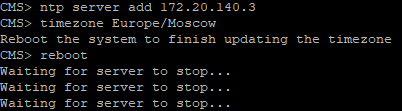
Now set your NTP server and timezone and reboot.
CMS License and Certificates
Now you have to form a request for CMS certificates.
Cisco Meeting Server services use x.509 certificates for TLS connections and for some authentication purposes. In our case, the certificate is needed for Call Bridge, XMPP, Web Bridge and Web Admin services. Certificates can be self-signed or signed by internal or external CA.
Self-signed certificate is admissible, but not recommended, as it causes errors on web pages and prevents registering CMS Conference Bridge on CUCM.
Generate a request:
pki csr Cert CN:example.com subjectAltName:callbridge.example.com,xmpp.example.com,webbridge.example.com
Since we are using one certificate for all services, AltName should contain this services’ names.

Download, install and run WinSCP to get your request file and to put the license file on your CMS server.
To get the license (a 90-days demo version), apply to some Cisco partner and piteously ask for a demo license for education or demonstration purposes, or buy a full license and add your interface MAC address to your piteous letter.
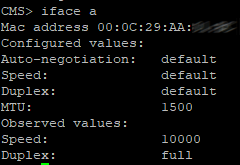
Get the MAC address with the following command: "iface a"
Suppose you get lucky and obtain the license file with .lic extension. Rename it to "cms.lic"
Now run WinSCP. Create a connection to CMS.
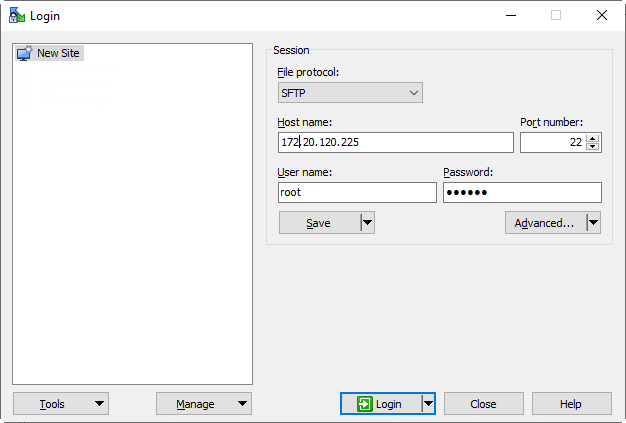
Connect:
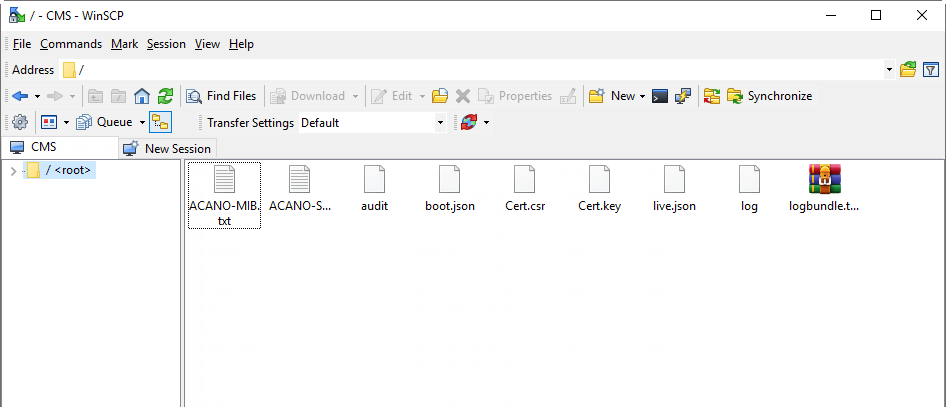
Save cms.lic and Cert.csr to CMS.

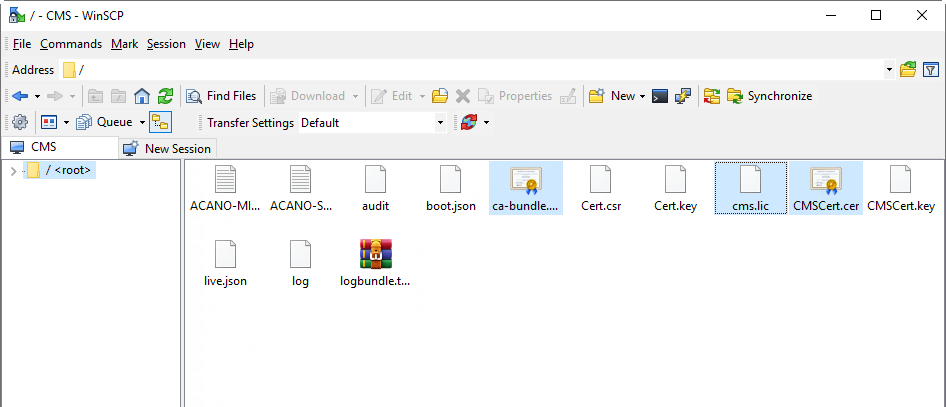
To create a full chain certificate file (because our CMS won’t use .p7b file), do the following:
In a command line:
a. In UNIX OS: cat “intermediate certificate 1” “intermediate certificate 2” “intermediate certificate 3” “root certificate” > ca-bundle
b. In Windows/DOS: copy “intermediate certificate 1” + “intermediate certificate 2” + “intermediate certificate 3” + “root certificate” ca-bundle
Use WinSCP to load the resultant file and the CMS certificate file to CMS.
Reboot, check the license:

Call Bridge, Web admin, XMPP, Web Bridge
Call Bridge
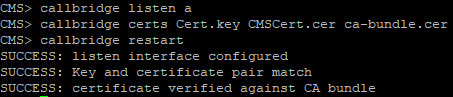
Configure Call Bridge to listen on a interface:
callbridge listen a
Configure Call Bridge to use the certificate, key and CA bundle files:
callbridge certs <keyfile> <certificatefile> <ca bundle>
Restart callbridge:
callbridge restart
Web Admin
Setup Web Admin service:
webadmin listen a 445
Port 445 has been chosen because 443 is already used for web access.
Configure the certificate files for Web Admin service:
webadmin certs <keyfile> <certificatefile> <ca bundle>
And turn it on:
webadmin enable
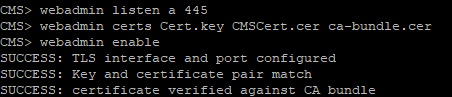
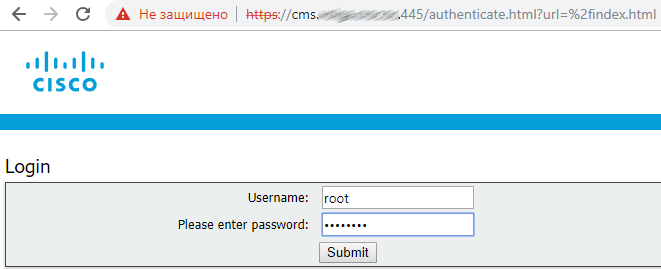
If everything is right, you'll get SUCCESS messages telling about Web Admin certificate and network parameters being correctly configured. To check if the service is available, enter the web administrator address in your web browser, for example: cms.example.com:445
XMPP
Setup XMPP service:
xmpp listen a
Configure the certificate files for XMPP service:
xmpp certs <keyfile> <certificatefile> <ca bundle>
Set XMPP deployment domain:
xmpp domain <domain name>
Turn the service on:
xmpp enable
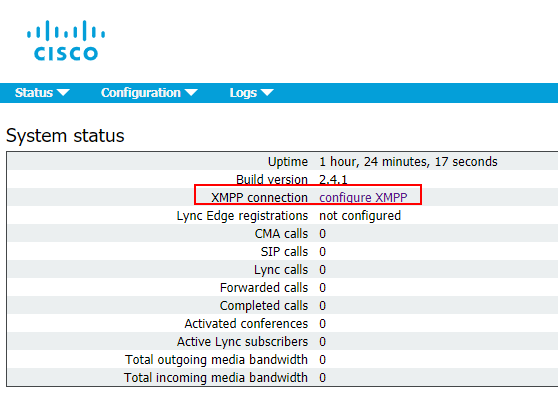
Check CMS and CUCM:
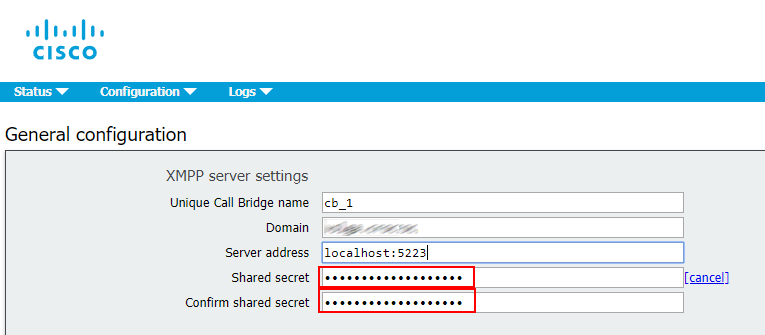
Add Call Bridge to XMPP server:
xmpp callbridge add
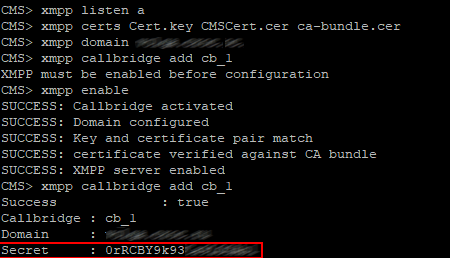
Copy the Secret and paste it to XMPP server settings, configure the other parameters (see the figure below)
Web Bridge
Setup Web Bridge service:
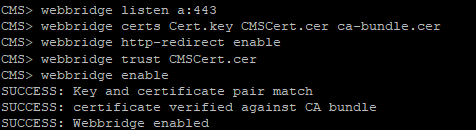
webbridge listen a:443
Configure the certificate files for Web Bridge service:
webbridge certs <keyfile> <certificatefile> <ca bundle>>
Web Bridge supports HTTPS. If it is configured to use httpredirect, then HTTP will be redirected to HTTPS. To enable HTTP redirection, use the following command:
webbridge http-redirect enable
Use the following command to make Web Bridge trust Call Bridge connections with the certificate previously issued by a certification center:
webbridge trust <certfile>
Read also:
- Part 1 - Integration of Cisco Meeting Server with CUCM 11
- Part 2 - Integration of Cisco Meeting Server with CUCM 11
- Part 3 - Integration of Cisco Meeting Server with CUCM 11
This article is a translation of a guide originally created by S. Dubinin, Telecommunications Specialist - https://habr.com/ru/post/433528/
Lets talk.